Nirmata utilizes Azure Active Directory for authentication. Ensure that Azure Active Directory is setup before adding Microsoft Azure as a Cloud Provider in Nirmata.
Click here for instructions on setting up Azure Active Directory.
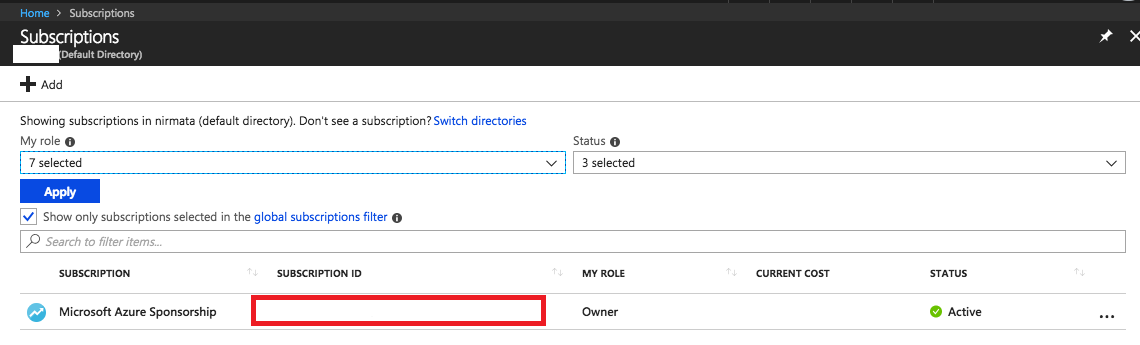
To add Microsoft Azure as a Cloud Provider in Nirmata, enter the Subscription ID, Tenant ID, Client ID, and Client Secret.
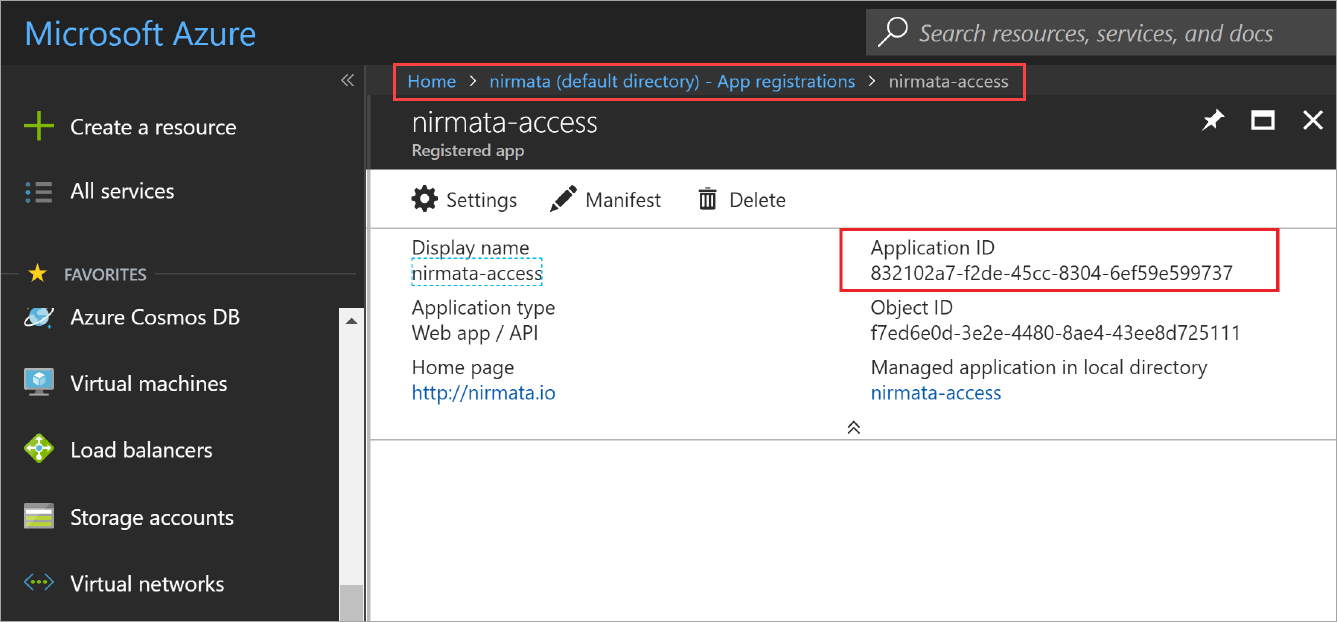
Accessing Client ID
To access a Client ID in Microsoft Azure:
- Login to your Azure account.
- From the sidebar menu, navigate to the active directory created for Nirmata.
- Open Settings and note the Application ID.
Note: The Application ID and Client ID are same.
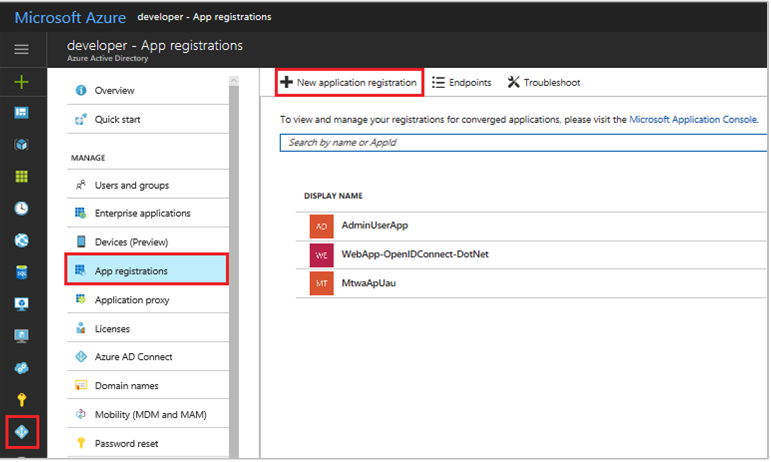
Creating an Azure Application for Nirmata
Next, create an Azure Application in the Resources Group of Azure. This application will be used for Nirmata deployment.
To create an Azure Application:
-
Login to the Azure portal.
-
From the sidebar menu, select Azure Active Directory > App Registration.
-
Select New Application Registration.
-
In the Create page, enter the application registration information.
-
Enter
https://www.nirmata.ioas the Webpage/API interface.
Use the same Subscription ID as the current Resource Group.
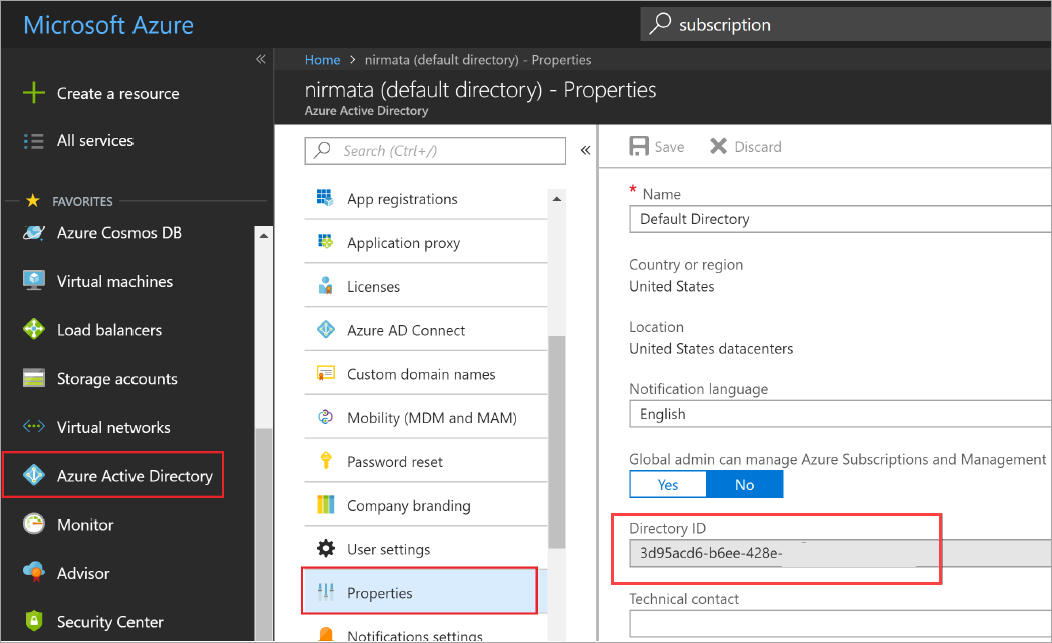
- Locate the Directory ID (Tenant ID) by opening the Azure Active Directory and then navigating to Properties. Note the Directory ID (Tenant ID).
Generating the Client Secret (Client Key)
The Client Secret (Client Key) is required by Nirmata to get access of the Azure Application.
To create a Client Secret (Client Key) in Microsoft Azure: 1.Open the Azure Application and go to Settings.
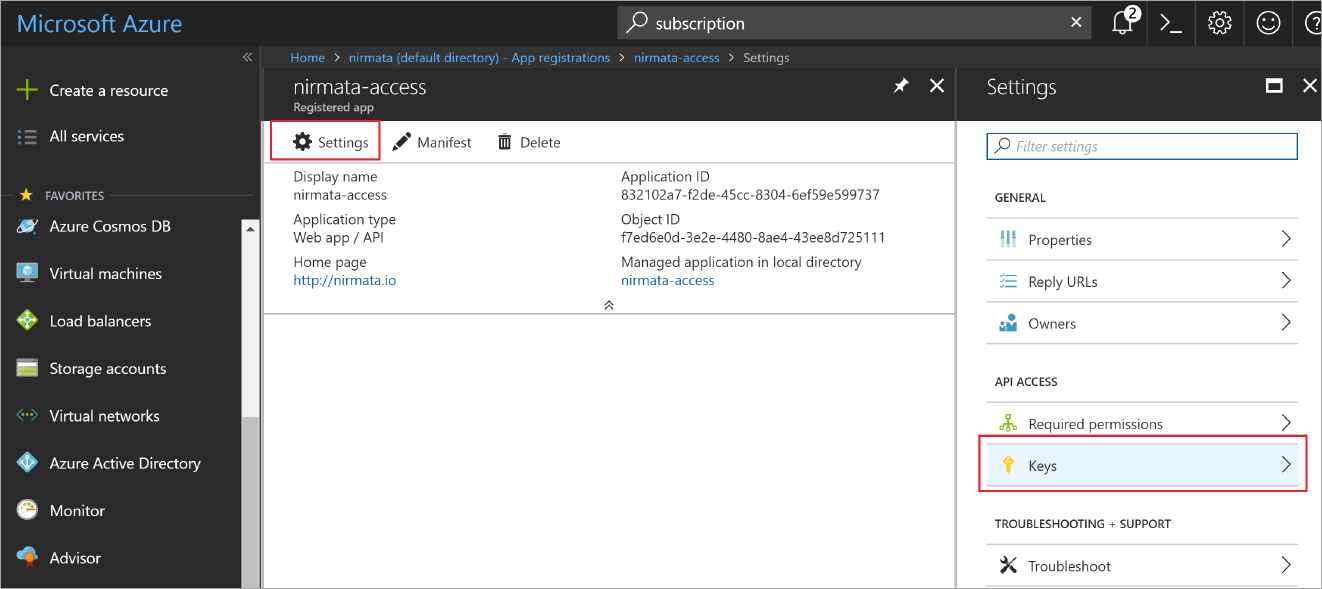
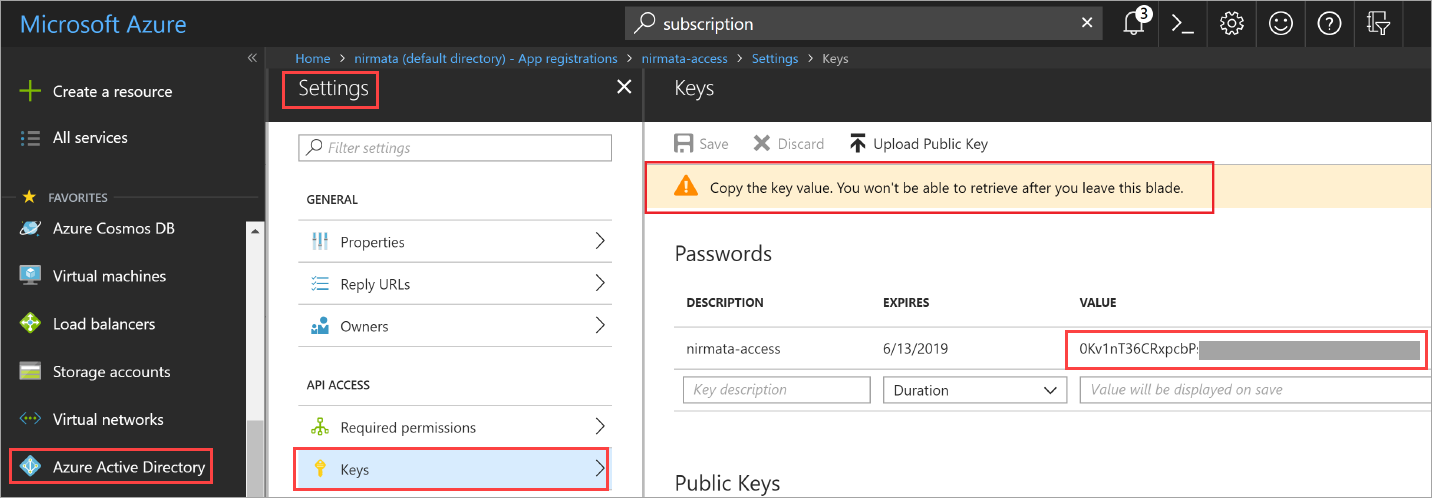
Select Keys and copy the key value.
Prerequisite
Confirm that all nodes can communicate allows Nirmata to create a Host Group.
Verifying Active Resource Group for the Cluster
You must confirm that an active Resource Group for the cluster is available.
To verify Active Resource Group:
-
Login to the Azure portal and select Resource Groups from the sidebar menu.
-
Click +Add.
-
Enter a name and location for the resource group and click Create.
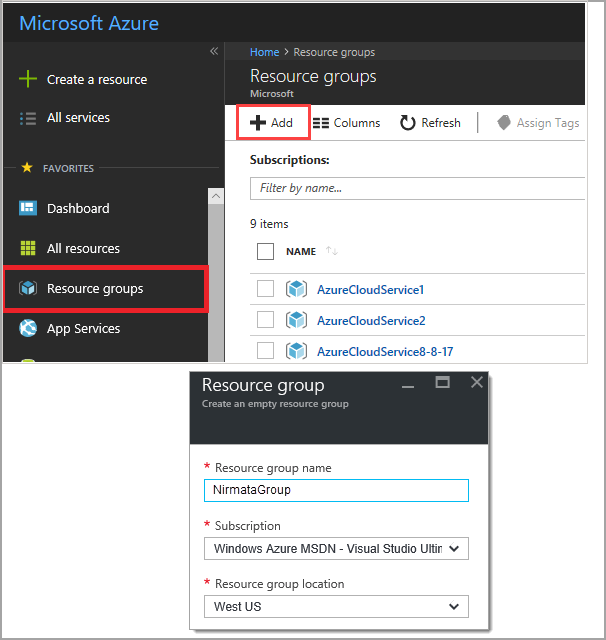
- Click Refresh to view the new Resource Group.

Confirming Security Groups are Configured Correctly
Review Microsoft Azure security groups and apply the correct security levels.
Confirming Accessible Storage Account
Refer Accessible Storage Account for instructions on creating accessible storage account.
Note: If the cluster requires public access, ensure to allow public IP’s to the nodes and to configure the networking security groups to allow SSH.
For a increased security, create a bastion host in the same subnet with a public IP. Then configure ssh to each node from a single point.
Adding Microsoft Azure Cloud Provider to Nirmata
-
From Cloud Credentials tab, click +Add Cloud Credentials. The Add Cloud Credentials screen appears.
-
Enter a name and select Microsoft Azure from type dropdown.
-
Enter description and click Next.
-
In the Settings tab, enter the details for Subscription ID, Tenant ID, Client ID, and Client Secret.
-
Click Next to go to the Validate tab. This screen validates your Azure credential in Nirmata.
-
Click Finish.
Your Azure Cloud Credential is configured when the Validate screen displays Success status.
Once the Azure account access is validated, setup an Microsoft Azure Host Group.
See Also: