An Ingress manages external access to the services in a cluster, typically HTTP. Ingress policies can provide load balancing, SSL termination, and name-based virtual hosting.
Prior to creating an Ingress for your application, ensure that an Ingress Controller is available in the Kubernetes cluster to fulfill the ingress. Note that Google Kubernetes Engine (GKE) deploys an ingress controller on the master. Review the beta limitations of this controller if using GKE.
Nirmata allows you to use the same application YAML to deploy applications multiple times to the same cluster within different namespaces. To do so, the Ingress rule must be configured differently for each application.
In support, Nirmata allows multiple ingresses per a cluster and specific ingress settings per an environment and/or application by allowing the Ingress class notation to be specified for each Ingress rule. Configuring an Ingress rule at the application level allows you to add an Ingress policy to an environment to apply environment specific Ingress settings.
Additionally, some aspects of the Ingress rule, such as the Host name (subdomain) can be customized at a later date by another team to enforce Ingress policies when needed.
An Ingress policy contains:
- Host domain suffix (e.g. apps.nirmata.io)
- TLS enable/disable NOTE: if TLS is enabled, the Ingress should be configured for TLS using the same Ingress Host name
- Ingress annotations (e.g. ingress class kubernetes.io/ingress.class)
- Subdomain reference - you must specify a config map property to use as the subdomain name (e.g. application-defaults→app name) NOTE: if subdomain reference is not specified, the application run name can be used to generate the Ingress Host name
How to Configure an Ingress Rule at the Application Level
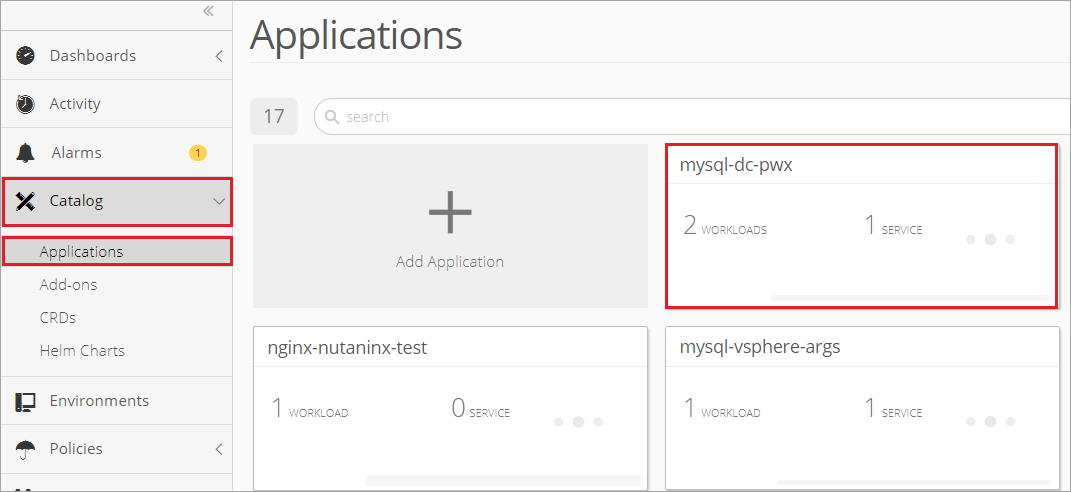
Open the application by selecting Catalog from the sidebar menu and then open Application. Click on the application card.
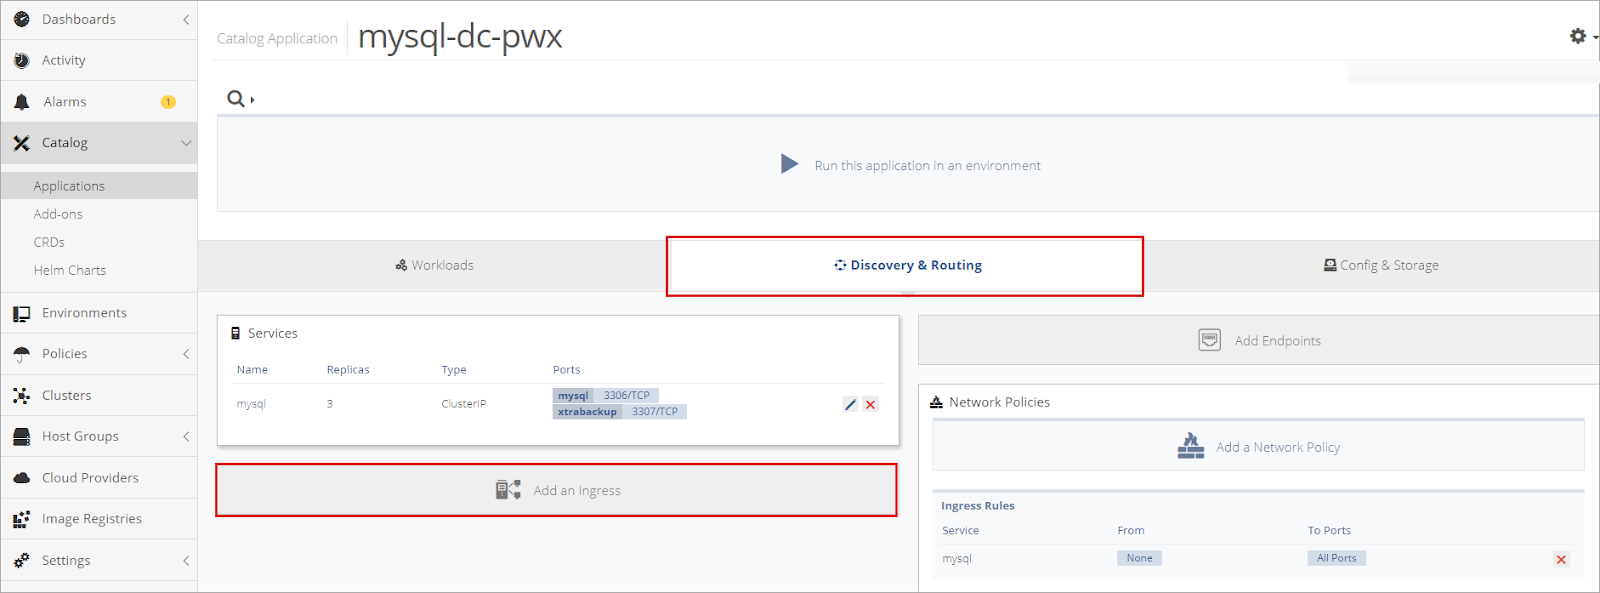
Once inside the application, select Discover & Routing and choose the option to Add an Ingress.
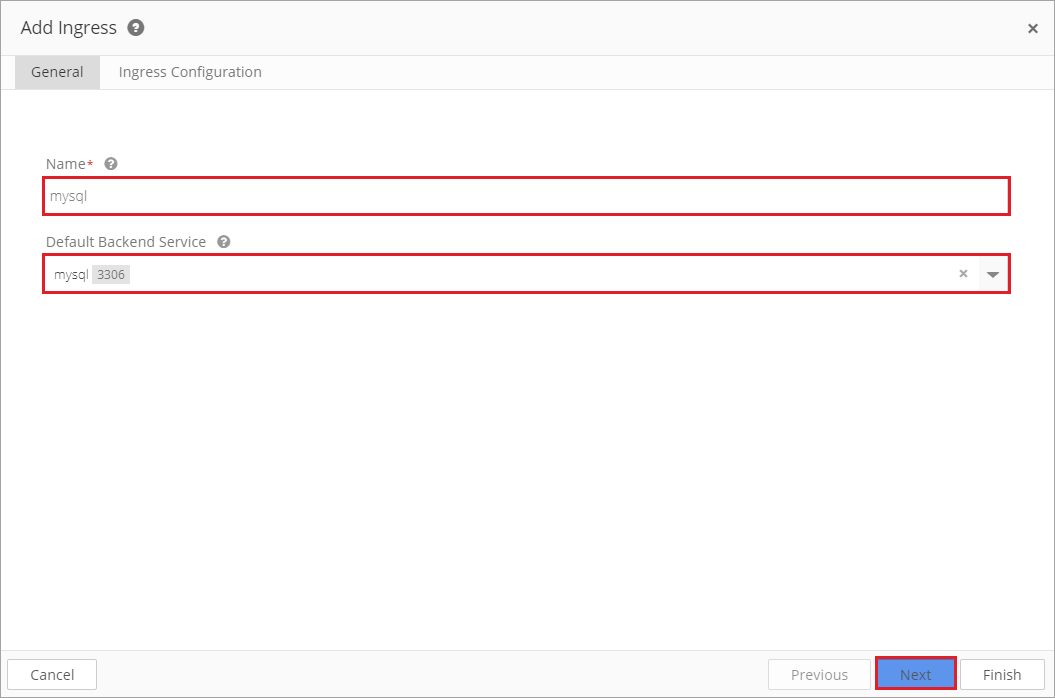
Create a Name for the ingress and select a Default Backend Service. Then click Next.
The backend is a combination of service and port names. HTTP (and HTTPS) requests to the ingress matching the host and path of the rule are sent to the listed backend. In most cases, a default backend is configured in the ingress controller. The default backend in the ingress controller services any requests that do not match the path in the specified path.
An ingress without rules sends all traffic to a single backend.
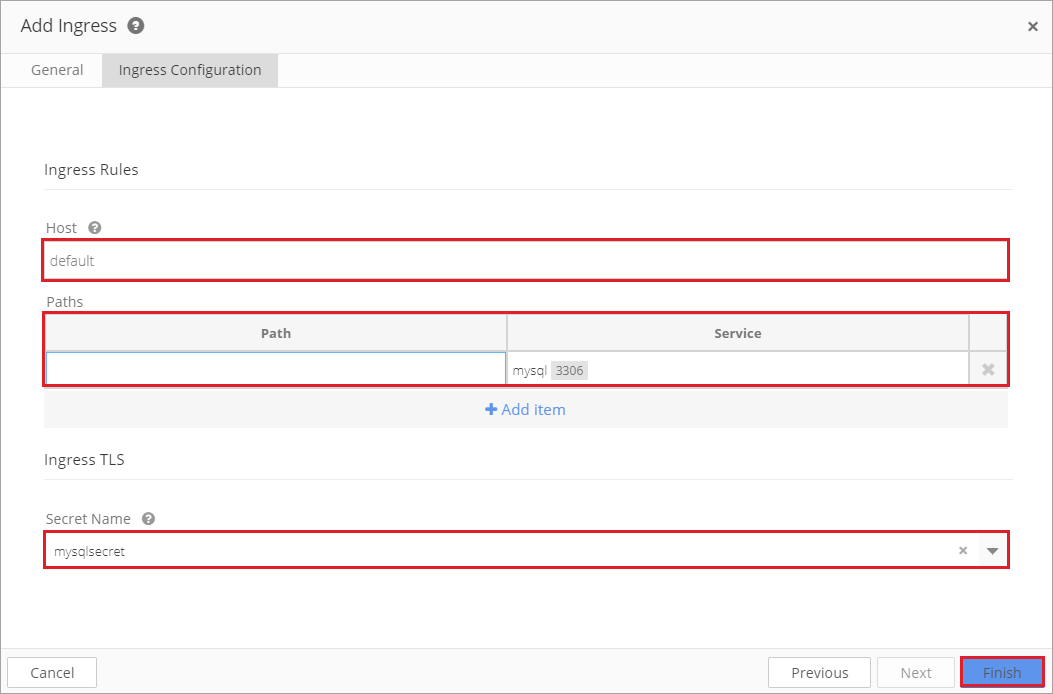
To keep the application portable, leave the Host field empty or provide a default value to customize when the application is deployed in an environment. This ensures that the host name is unique to the application.
When a Host is not specified, the ingress rule applies to all inbound HTTP traffic through the IP specified IP address.
If a Host is specified, the ingress rule applies only to the specified host.
Next, add a path(s).
Each path must be associated with a backend serviceName and servicePort. Both the host and path must match the content of an incoming request before the load balancer will direct traffic to the referenced service.
Note that on most Kubernetes project maintained distributions, communication between the user to the apiserver and from the apiserver to the kublets is protected by SSL/TLS. Secrets are protected when transmitted over these channels.
Click Finish.
TLS Support
Ingress can be secured by specifying a secret that contains a TLS private key and certificate. Kubernetes Ingress only supports TLS port 443 and assumes TLS termination.
If TLS is enabled, both Host name and Secret name must be configured. The TLS secret must contain keys named tls.crt and tls.key that contain the certificate and private key to use for TLS.
apiVersion: v1
data:
  tls.crt: base64 encoded cert
  tls.key: base64 encoded key
kind: Secret
metadata:
  name: testsecret-tls
  namespace: default
type: kubernetes.io/tls
Referencing this secret in an Ingress tells the Ingress controller to secure the channel from the client to the load balancer using TLS. The TLS secret must come from a certificate that contains a CN, such assslexample.foo.com.
apiVersion: extensions/v1beta1
kind: Ingress
metadata:
  name: tls-example-ingress
spec:
  tls:
  - hosts:
    - sslexample.foo.com
    secretName: testsecret-tls
  rules:
    - host: sslexample.foo.com
      http:
        paths:
        - path: /
          backend:
            serviceName: service1
            servicePort: 80
The Host name is generated using the same Ingress Policy settings in non-TLS utilizations:
- ingressHostSuffix
- configMapKey + configMapSelector → domain
The Secret name is stored in the ConfigMap selected by configMapSelector. The name of the key is stored as a new attribute of the IngressPolicy called MapSercretKey.
To create a new Secret name:
- Check that TSLEnabled is set to true
- Apply configMapSelector to retrieve the ConfigMap containing the Secret name
- Use the value of configMapSecretKey as the key to retrieve the value of the Secret name in ConfigMap
How to Setup Elastic Load Balancing (ELB) on Amazon Web Services (AWS) with Nutanix
This tutorial explains how to setup an Classic Load Balancer on AWS with Nutanix. Check AWS for guidance on setting up an Application Load Balancer or Network Load Balancer.
ELB on AWS performs routine health checks on registered EC2 instance and automatically distributes incoming requests to the DNS name of your load balancer across the registered, healthy EC2 instance.
To enable ELB through Nutanix: Login to the AWS Management Console. In the Compute section, click EC2.
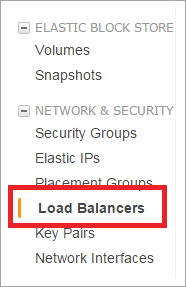
In the left navigation pane, click Load Balancers.
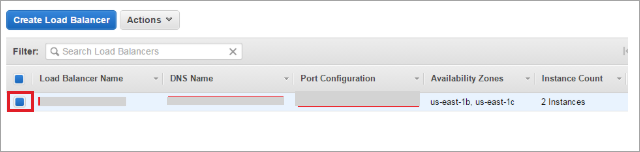
Select the required load balancer.
In the Cross-Zone Load Balancing section, in the Description field, click Edit.
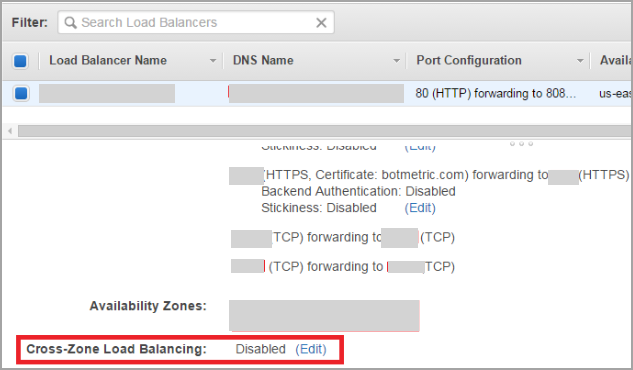
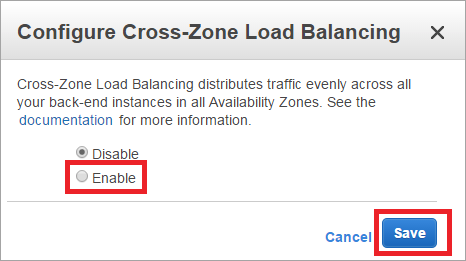
Click to Enable load balancing and then click Save in the Configure Cross-Zone Load Balancing window.
For information on creating a High Availability cluster, click here.
For information on installation and setup of a load balancer, click here.