Creating an Application manifest
Creating an application involves the following two steps:
- Adding an application to the Catalog
- Creating a deployment
Adding an application to the catalog
To add an application to the catalog:
- Go to Catalog and click Add Application.
- Enter the name for the application and click Create.
NOTE: To import your existing application, drag-drop the YAML files in the provided space and click Create.
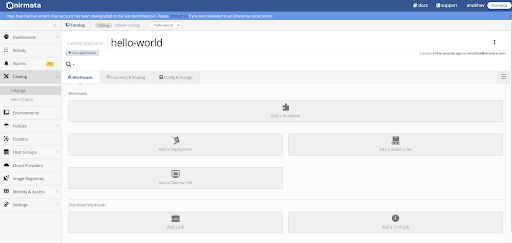
Once you have created the application, you should see the application model as shown below.
Creating a deployment
A standard application in Kubernetes provides the following deployment types to create a deployment:
- Simple deployment
- Statefulset (ordered deployment)
- Daemonset (deployment on every node)
These deployment models are provided to support different application requirements.
NOTE: You must have access to the image repository for the application for creating a deployment.
To create a deployment:
- Click Add a Workload and select a deployment type in Workload Type tab.
- Click Next select your image repository in Pick an Image Registry tab.
- Enter the details for the image repository and click Next.
- Enter the port details in Add Network Ports tab to assign a port to the container on which the application will listen.
- Click Finish.
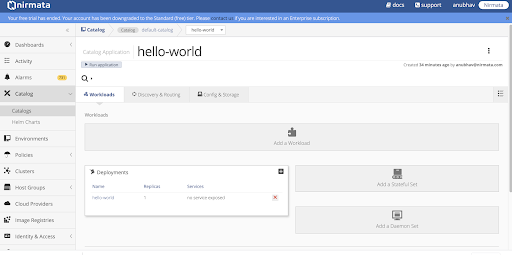
To edit a deployment, click on your image repository and update the required components.
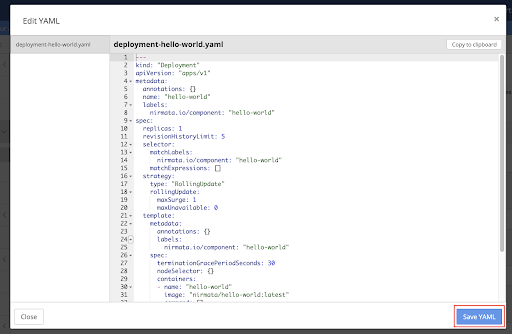
You can also edit a Kubernetes compliant YAML file by clicking on the three-dot at the top-right corner in Deployment panel and selecting Edit YAML.
Exposing an application as a service
In Kubernetes, you can expose your application as a service and give access to other applications or users, once your application has been deployed. The access can be given from outside the cluster or from other pods within the cluster.
To expose your application as a service:
-
Click Expose Deployment as a Service in the Deployment panel. The Expose as a Service screen appears.
-
Enter the name for the service and select a service type in General tab.
- Select ClusterIP to expose the application within the cluster.
- Select NodePort to expose the application externally.
This will allow a service on a specific port available to all the ports that are a part of the cluster. You can access the service at
http://<node-ip-address><NodePort>.
NOTE: The default value for service type is set as ClusterIP.
- Enter the details of the port that will be exposed in Ports tab.
- Click Finish.
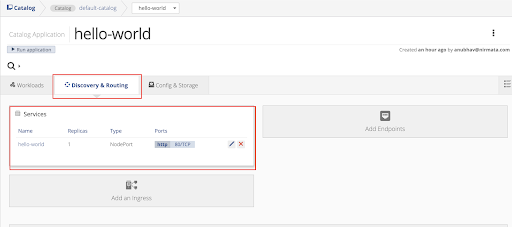
You can see the services under Discovery & Routing tab as shown below.