Nirmata uses HAProxy, an open source load balancer proxy, for TCP and HTTP applications.
Installing HAProxy
-
Click Environments in the left navigation.
-
Click the target environment to install HAProxy.
-
Click the + to Run an Application.
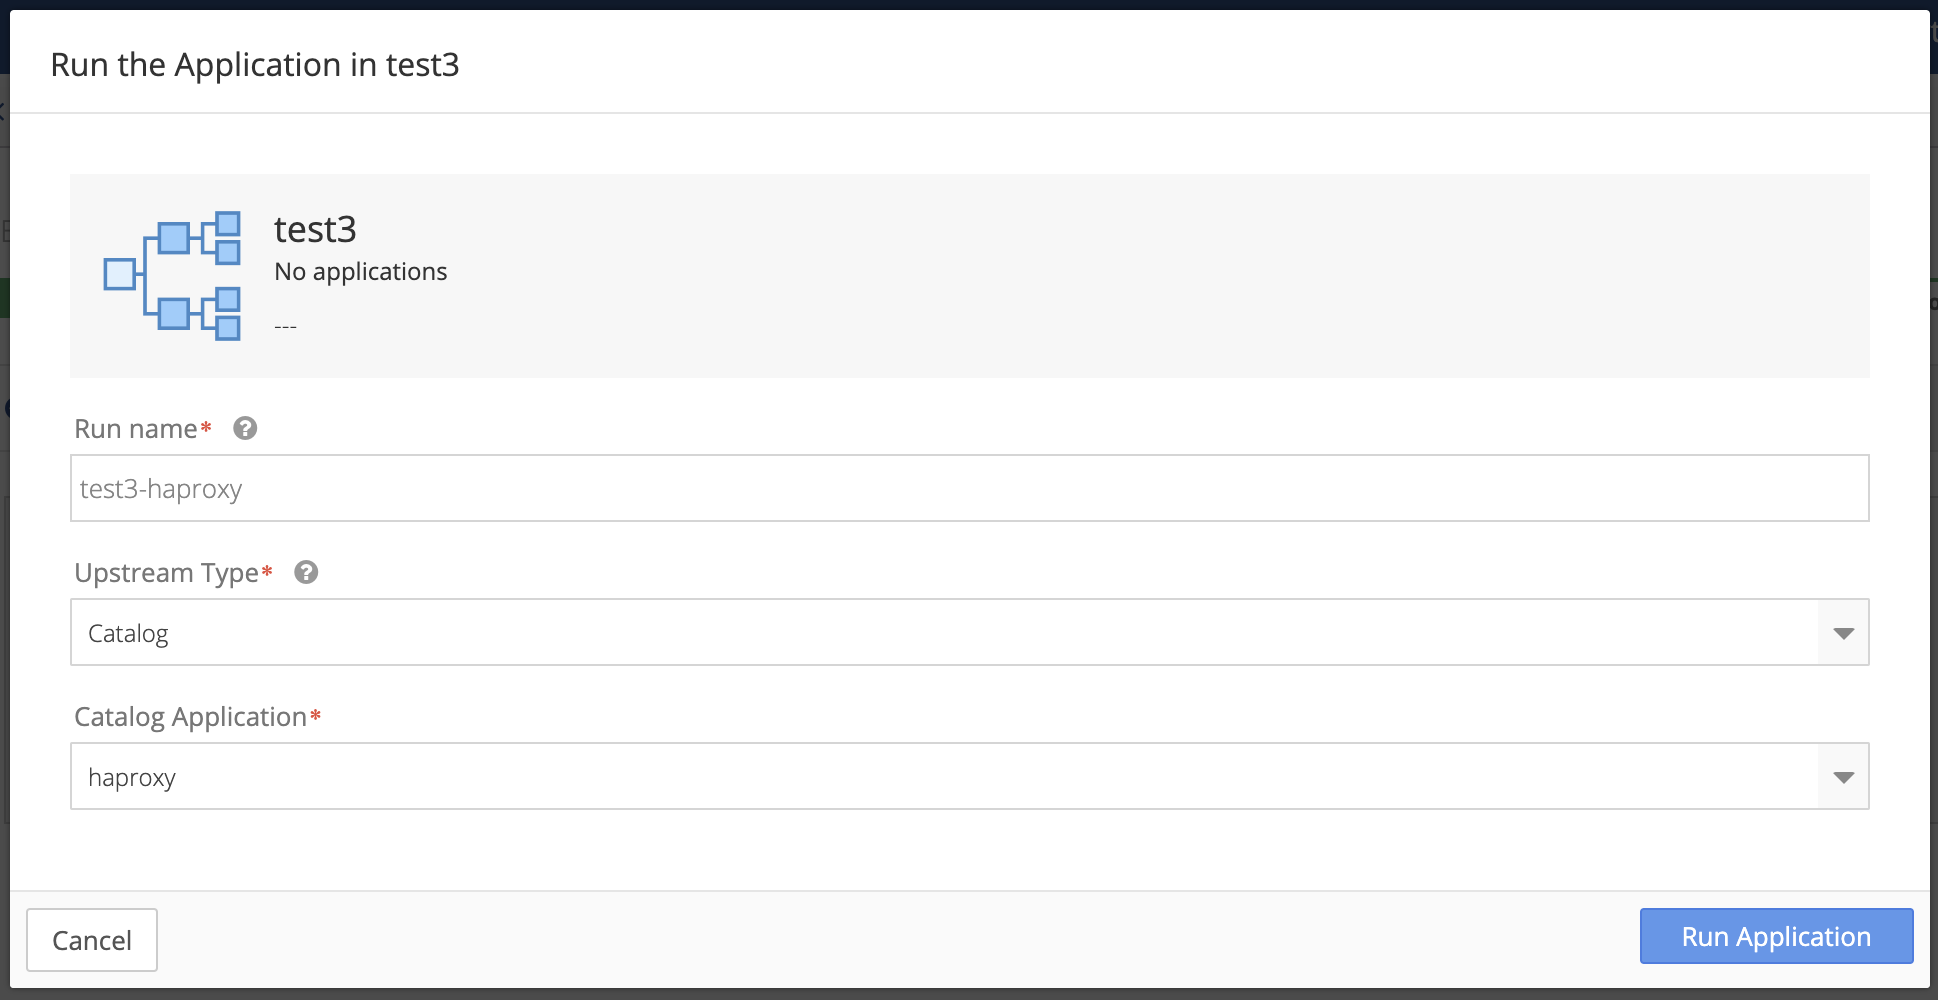
The Run Application setup overlay appears.
-
Enter a unique Run name for the application that includes haproxy.
Example:
my-env-haproxy -
Use the default selection Catalog for Upstream Type.
-
Select HAProxy from the Catalog Application drop-down menu.
-
Click the Run Application button to save your changes and run HAProxy on the environment. Click Cancel to return to the Environment Details page.
Notes:
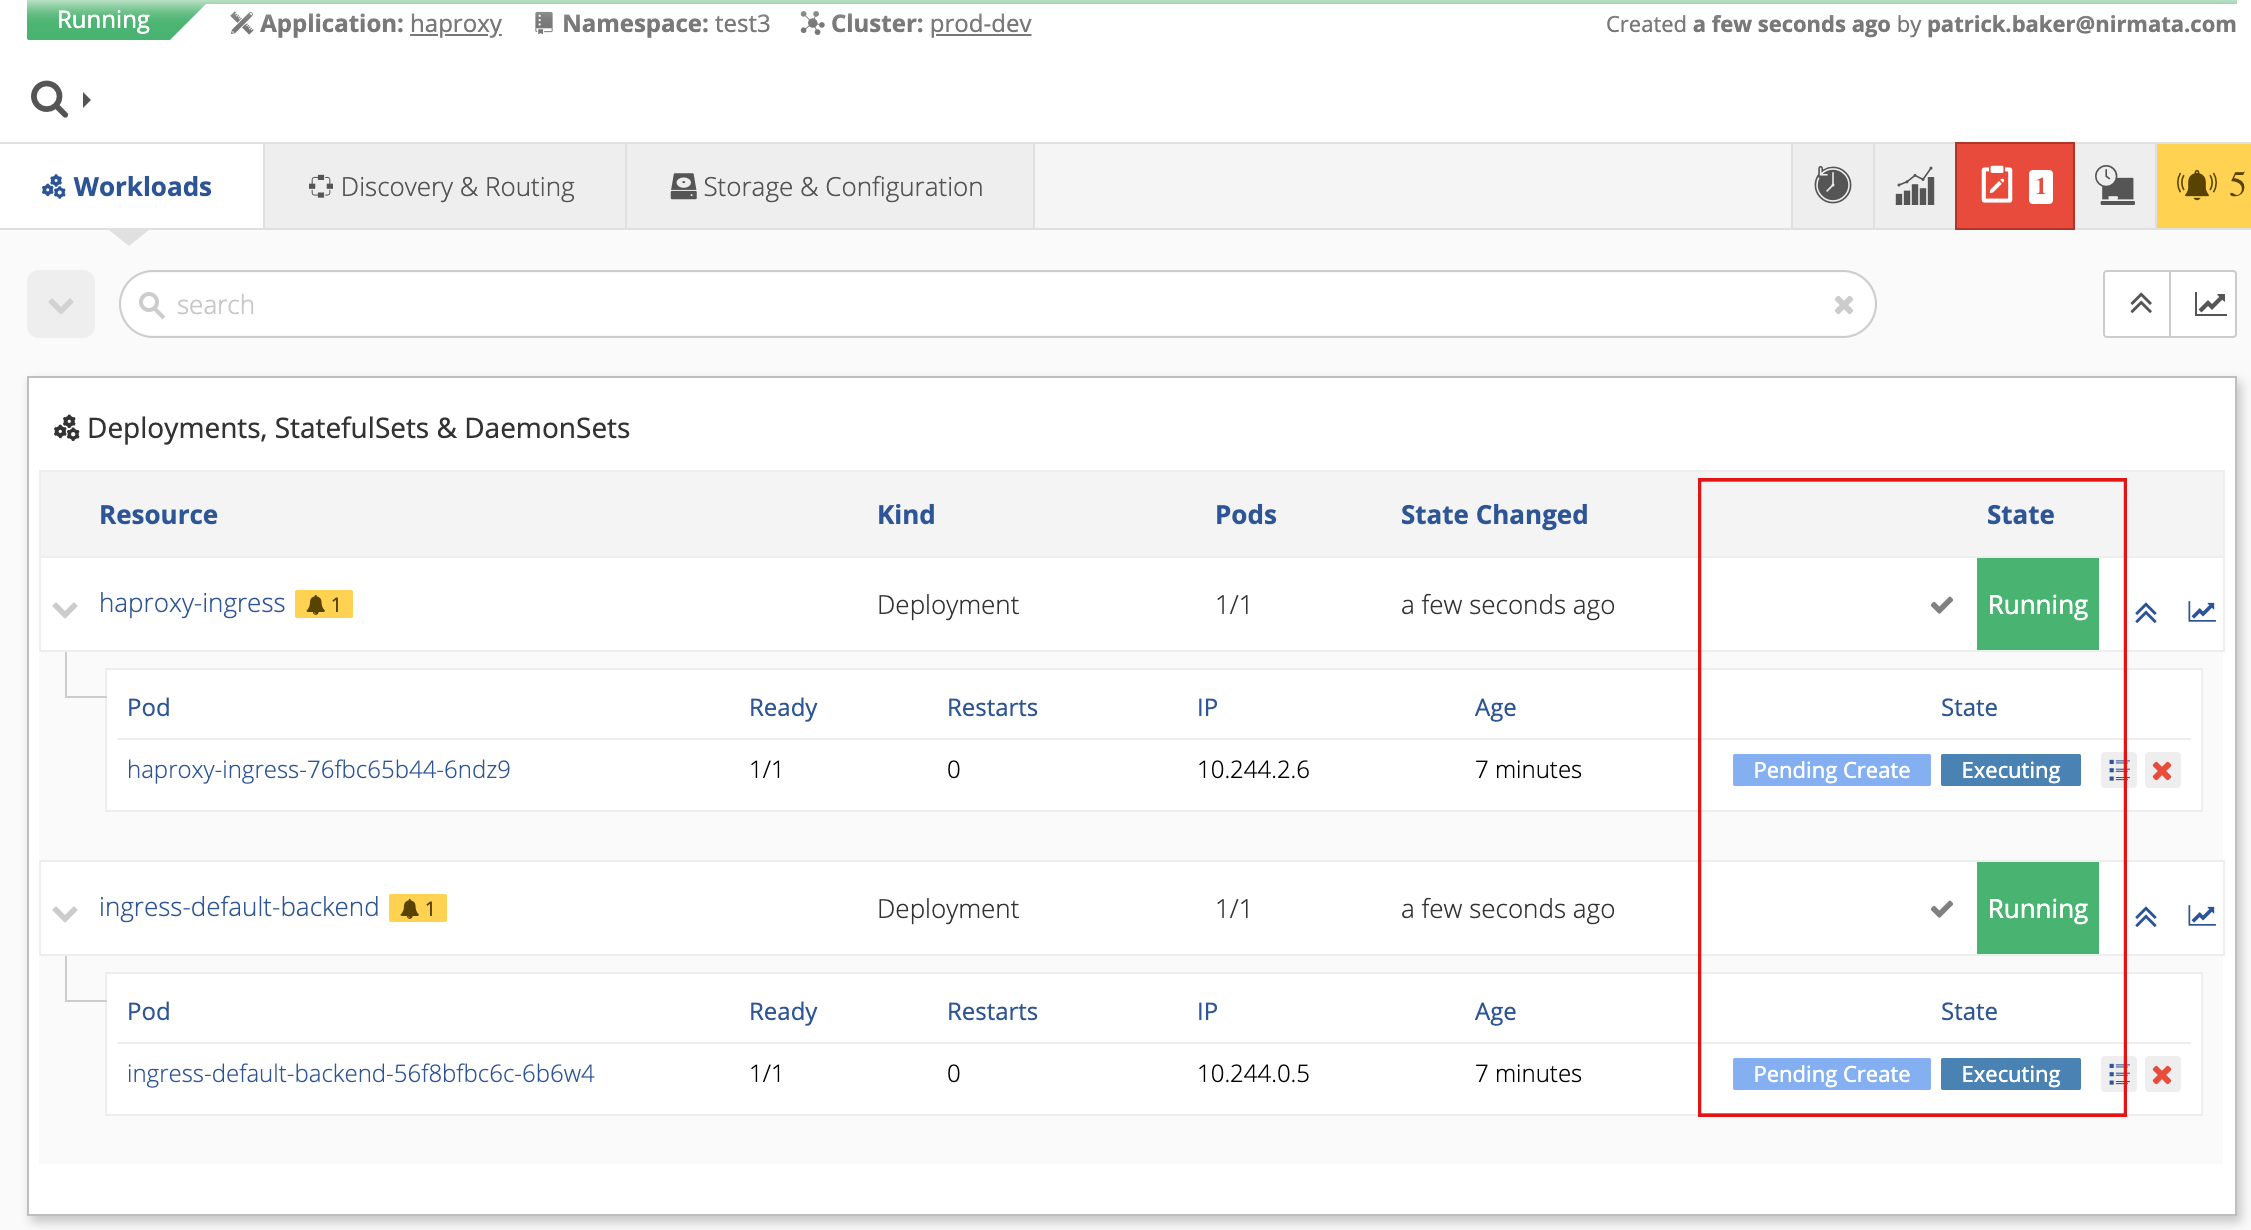
- There will be a short delay while the application is deployed and launched. Note the Executing state of the deployment(s).
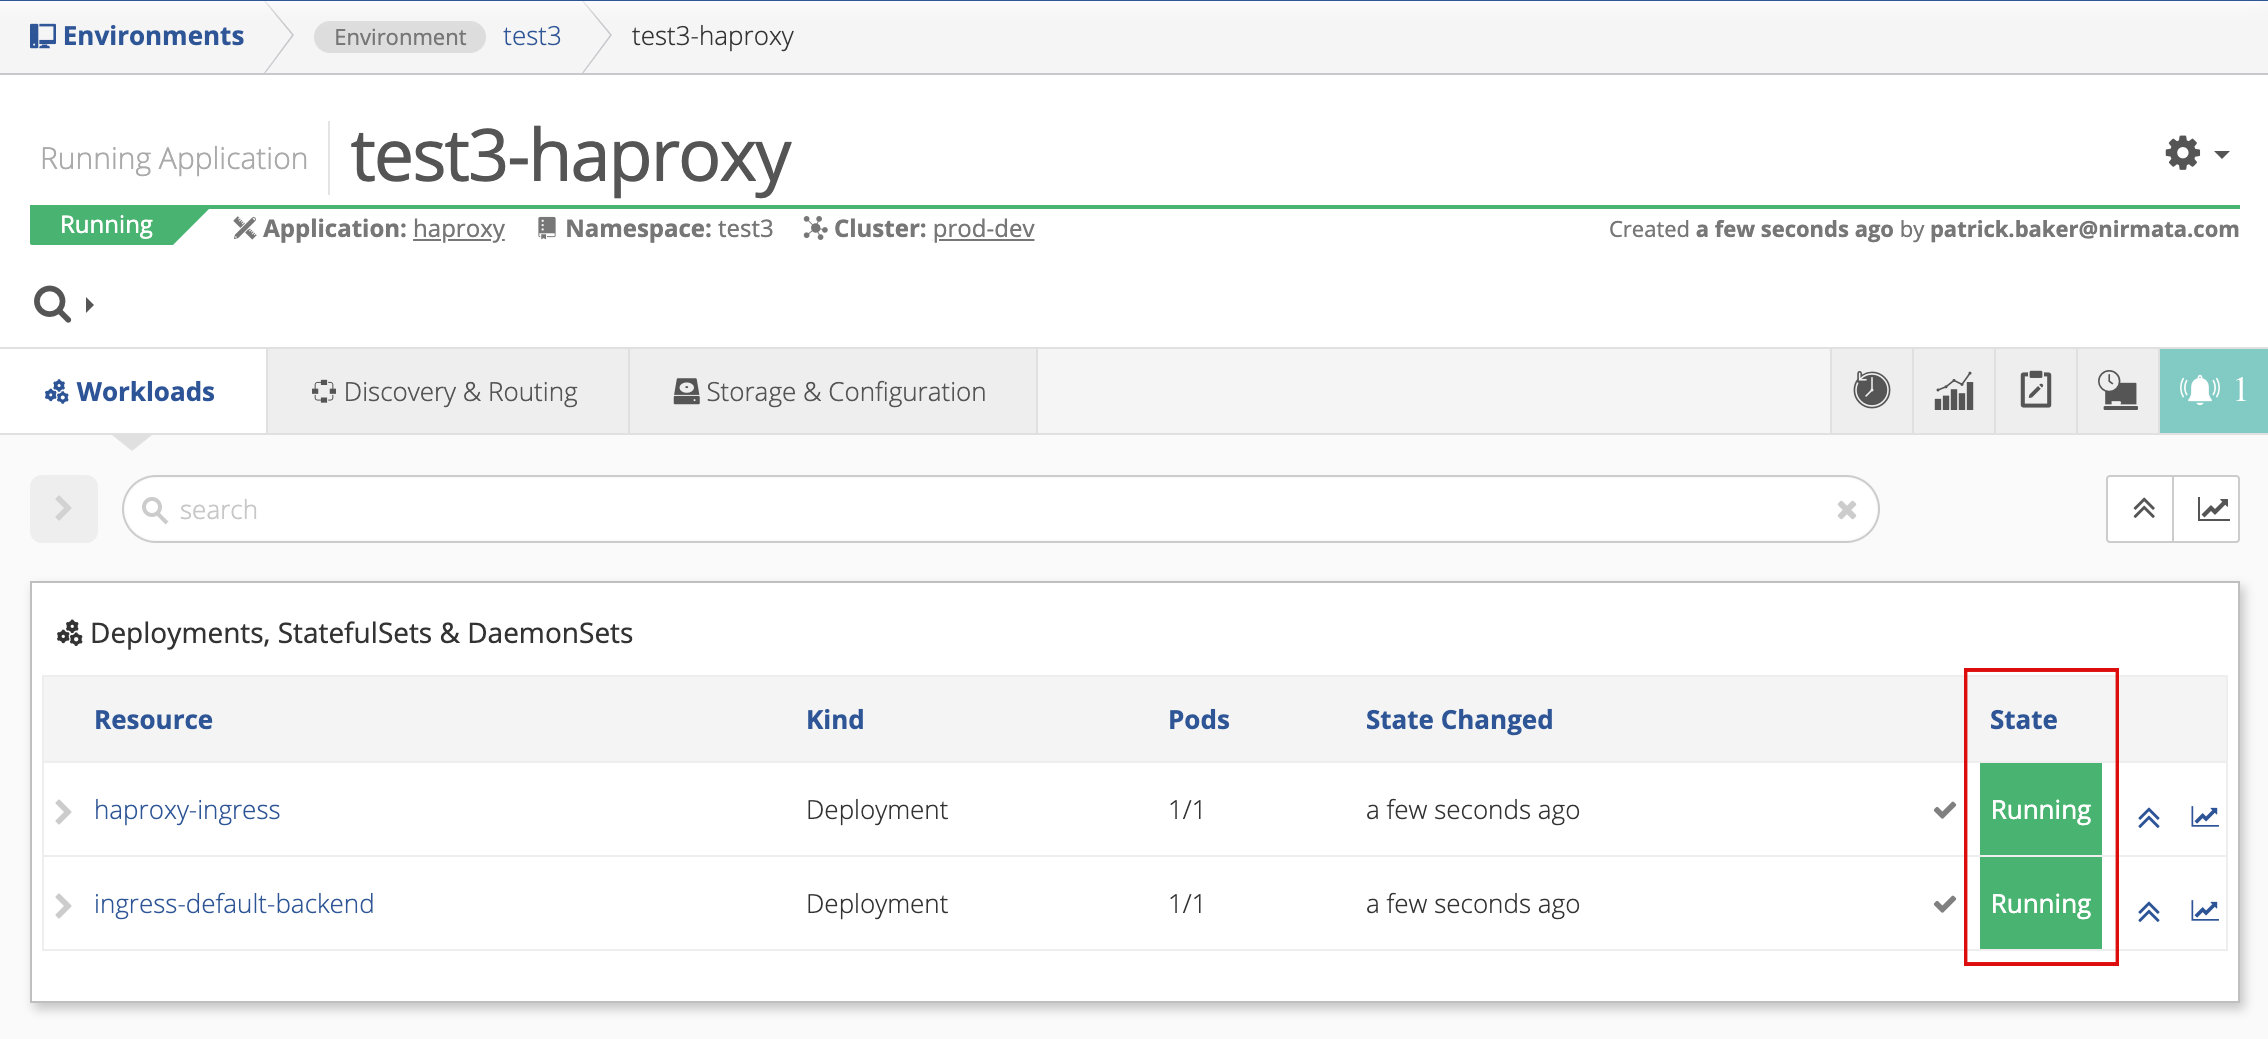
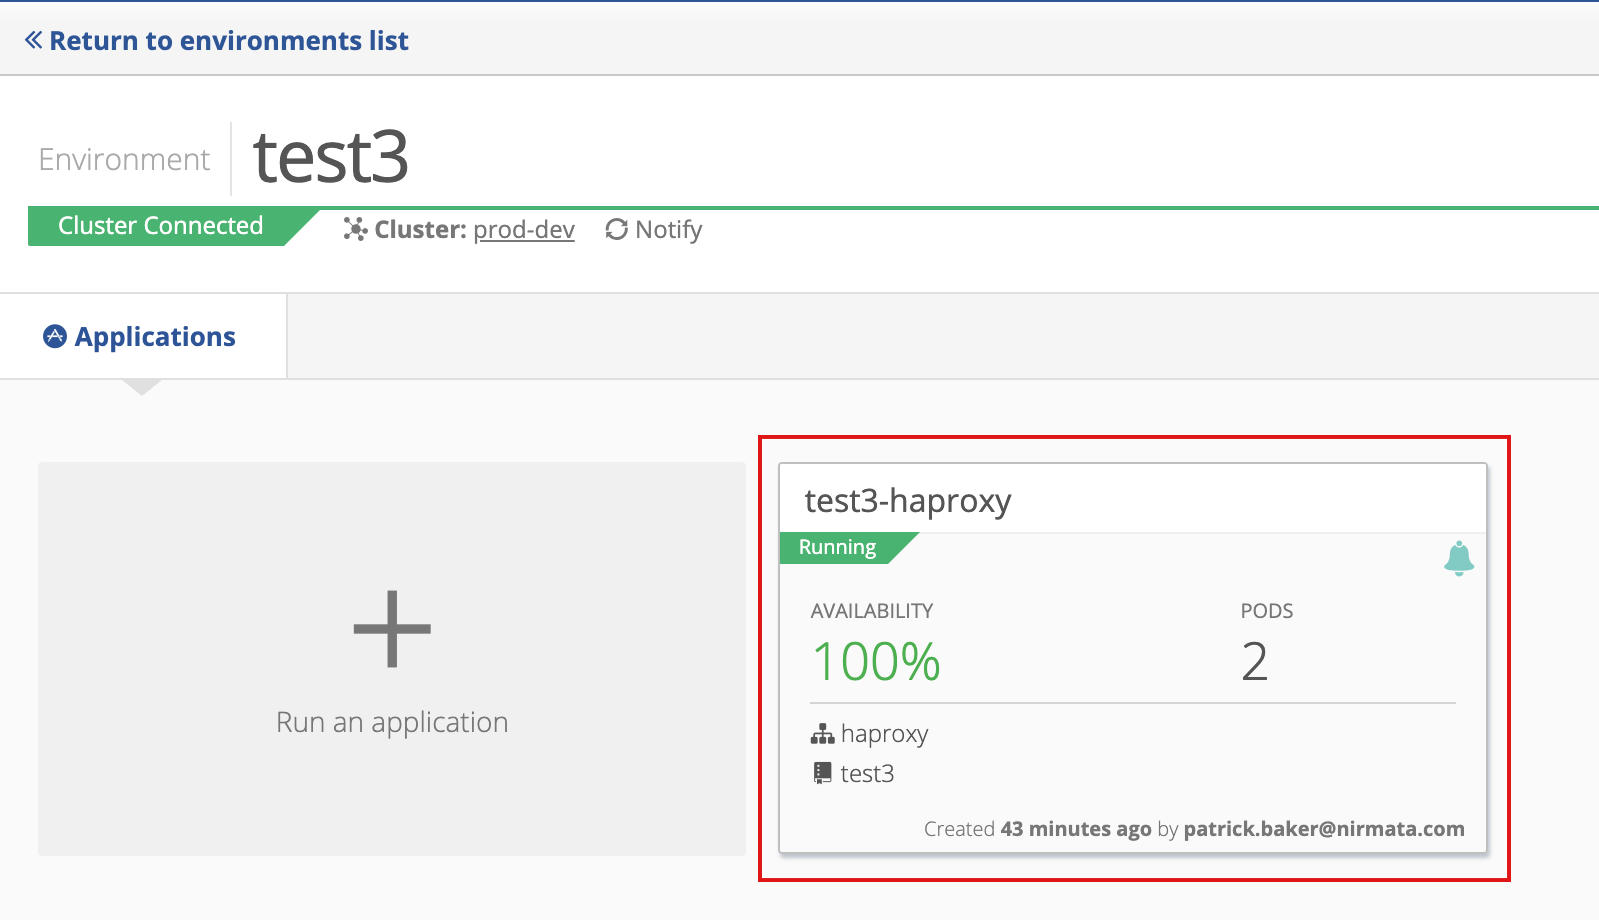
- If successfully executed, the Status column indicates the application is Running.
Checking HAProxy Deployment Status
-
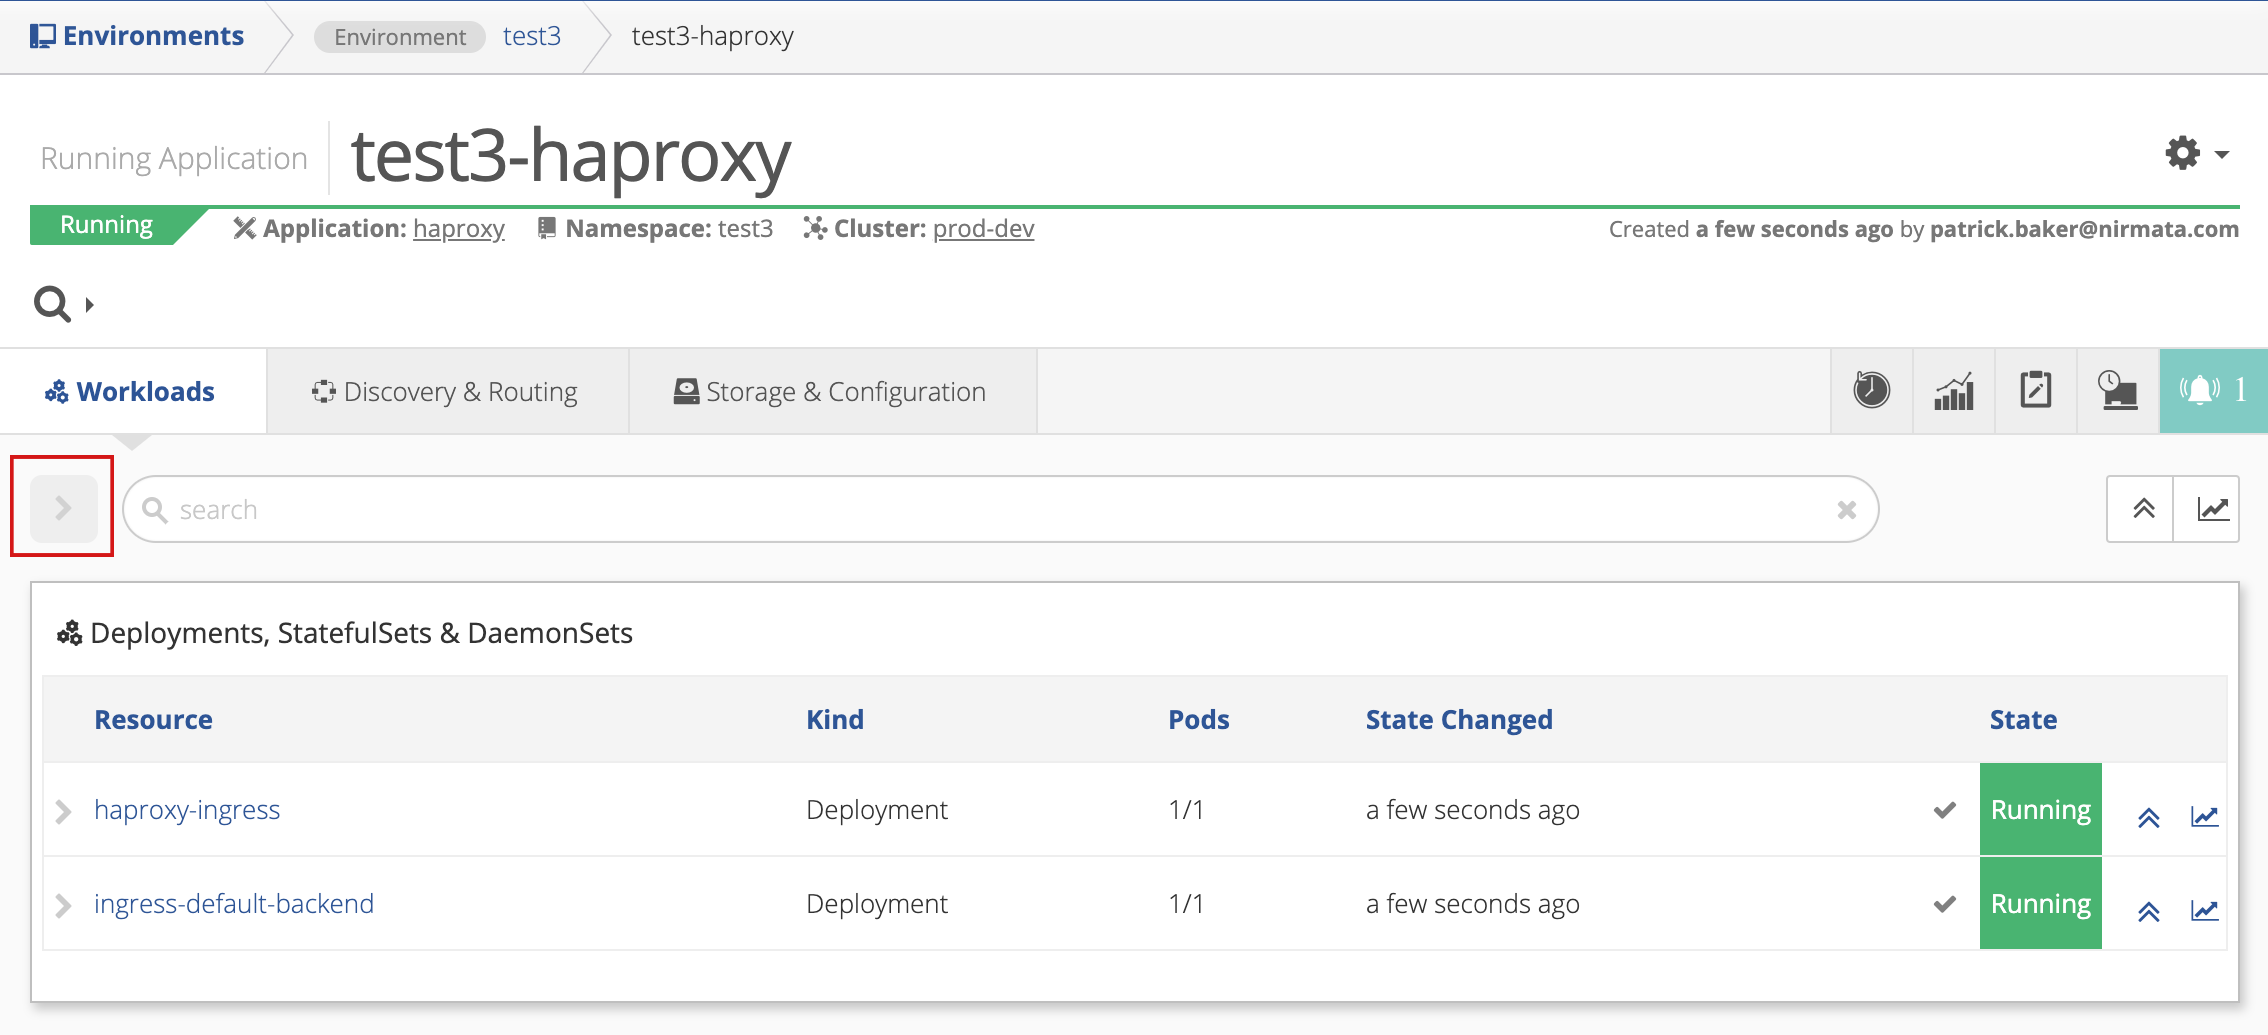
Click the arrow next to the Search box.
-
Note the newly deploying instance of haproxy-ingress.
On completion, the Application Details page shows the State as Running if the HAProxy installation was completed successfully.
If the HAProxy resources are running, the HAProxy installation is complete.
Installing Multiple Instances of HAProxy
To install mulitple instances of HAProxy, you must do the following for each new instance:
- Create a unique Cluster Role Binding.
- Create a unique Ingress Class.
Creating a Unique Cluster Role Binding
The new instance of HAProxy requires a unique Cluster Role Binding with a unique name. To create a unique Cluster Role Binding:
-
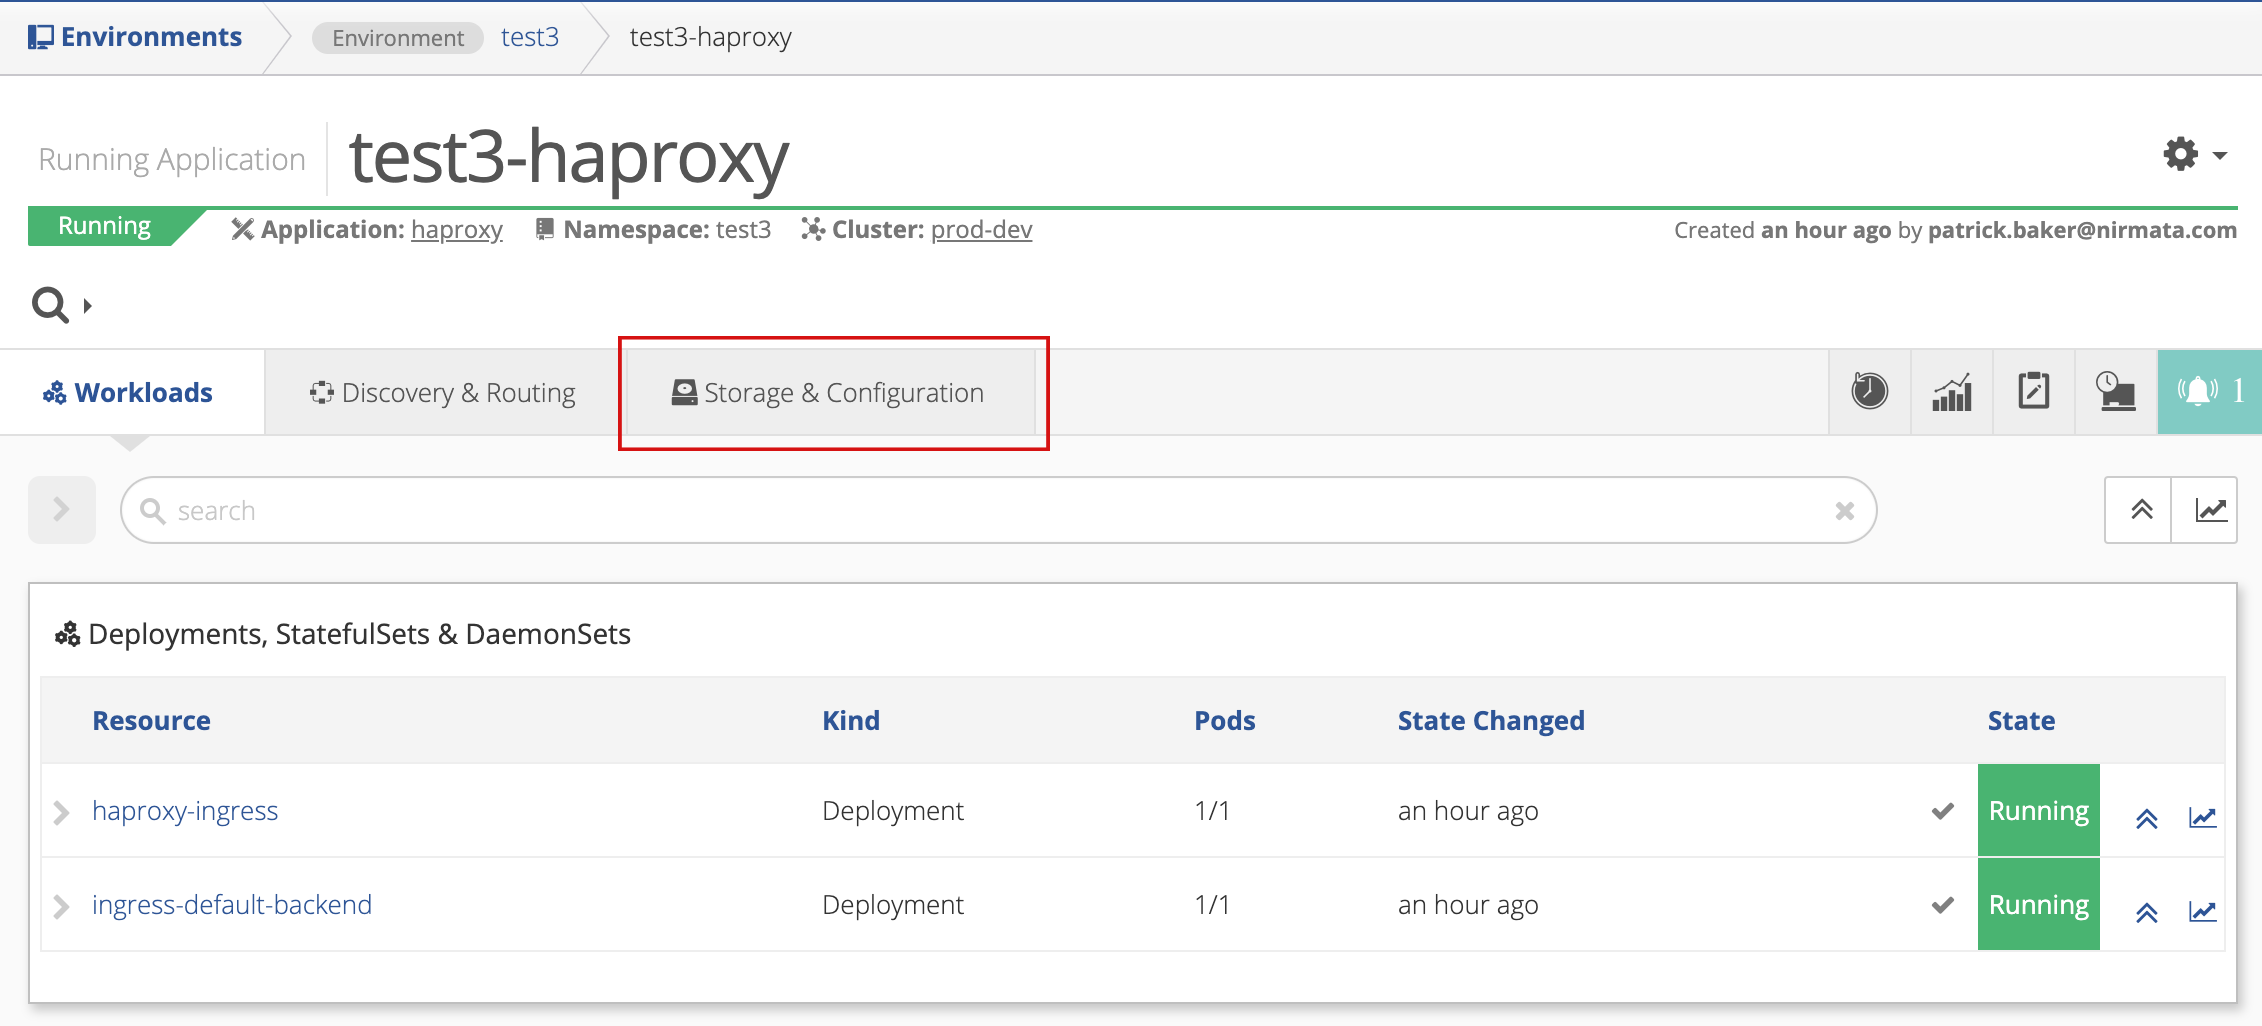
Click on the HAProxy instance installed in your environment.
-
The Application Details page appears. Click on Storage & Configuration.
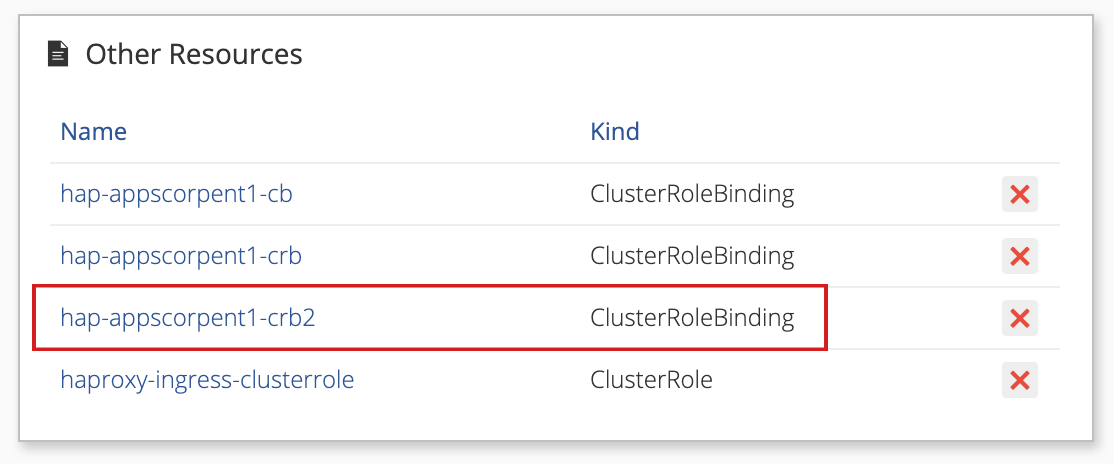
-
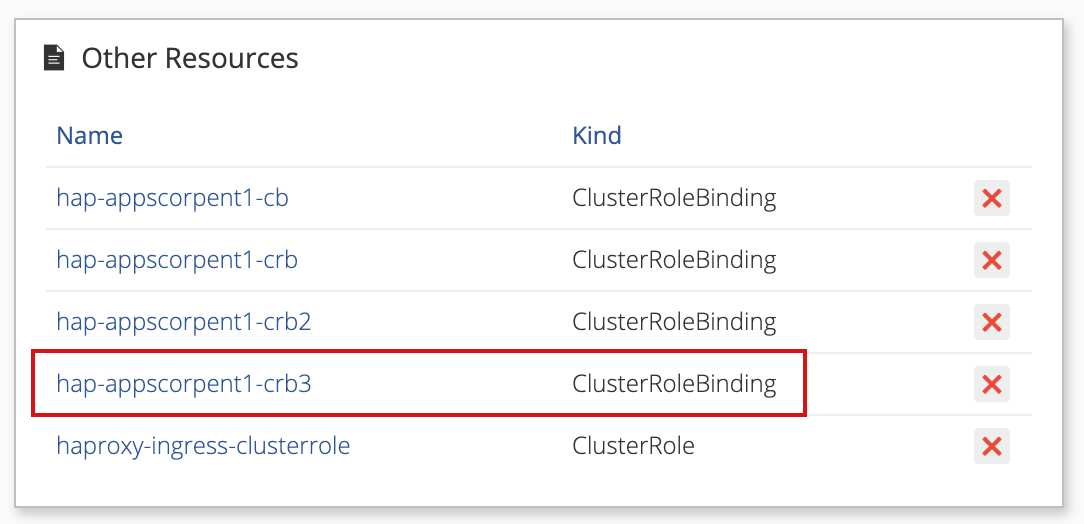
Scroll down to the Other Resources section. Note the resources identified as ClusterRoleBinding in the Kind column. Use an existing cluster role binding as a template to create a unique instance.
-
Click on an existing cluster role binding.
The Cluster Role Binding Detail page is displayed.
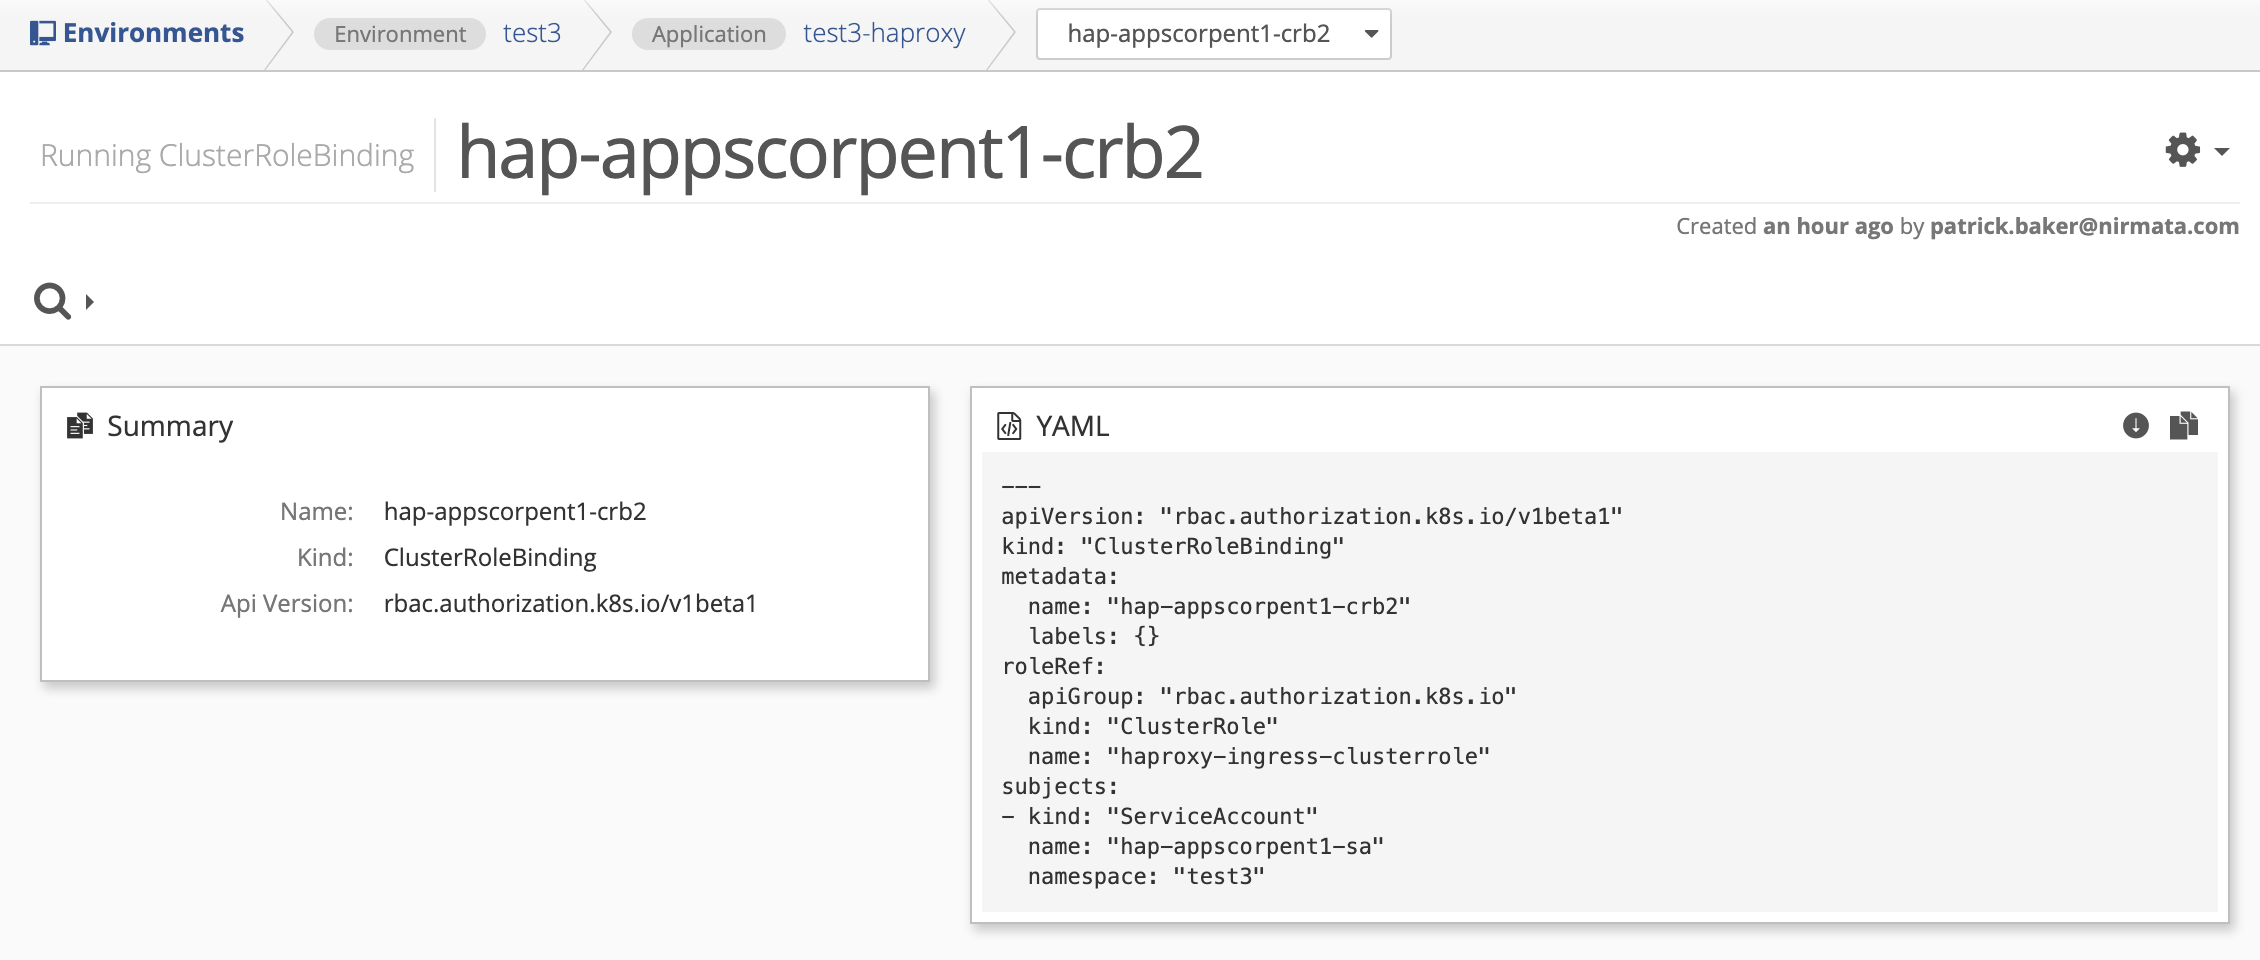
-
Click the Download button to download a copy of the cluster role binding YAML file.
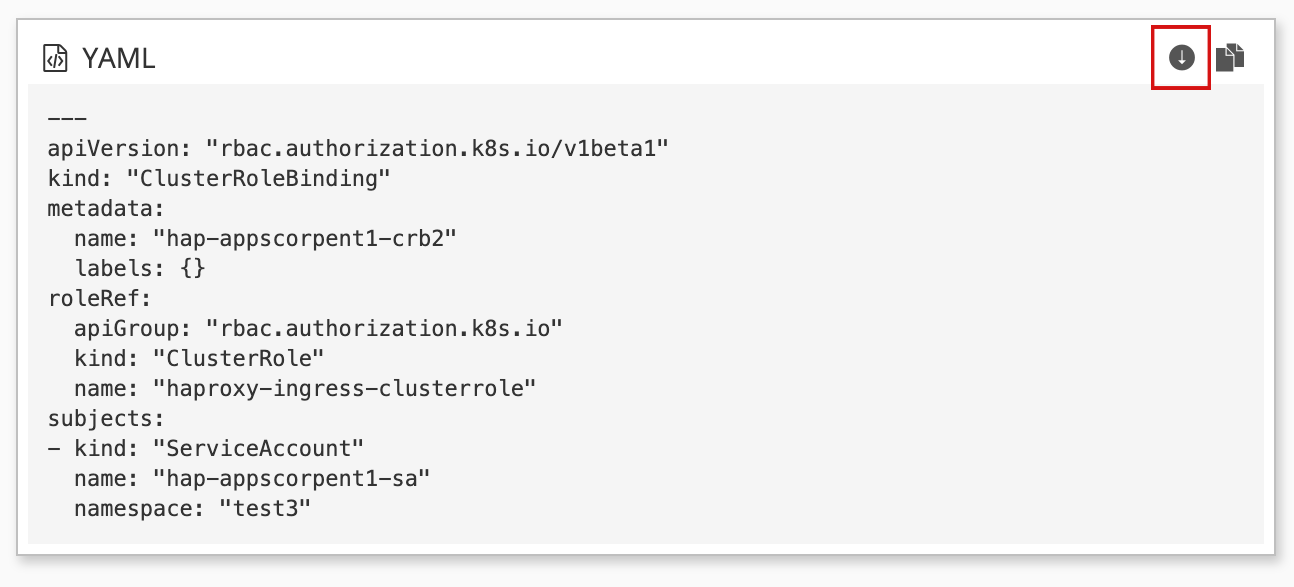
-
Open the downloaded YAML file and give the cluster role binding a unique name by modifying name under metadata.
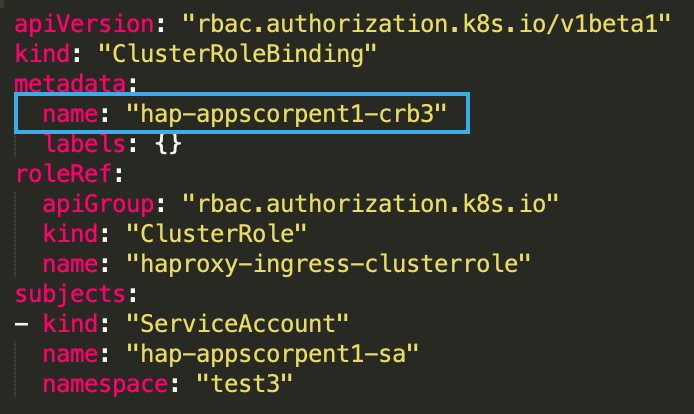
-
Rename the new cluster role binding YAML file using the same unique name specified when editing the file in the previous step.
Example:
hap-appscorpent1-crb3.yaml -
Click the browser Back button to return to the Application Details page.
-
Click the gear icon on the right side of the Application Details page and select Import to Application from the menu.
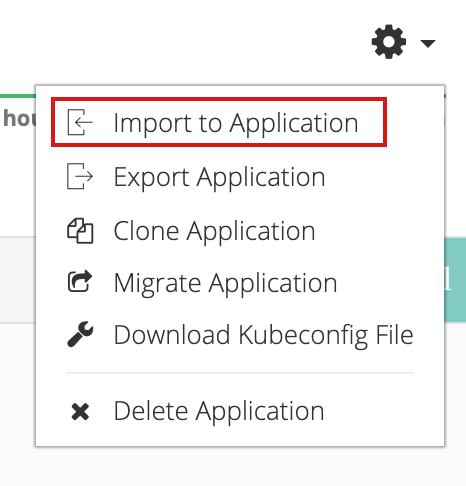
The Import YAML to Application HAProxy overlay appears.
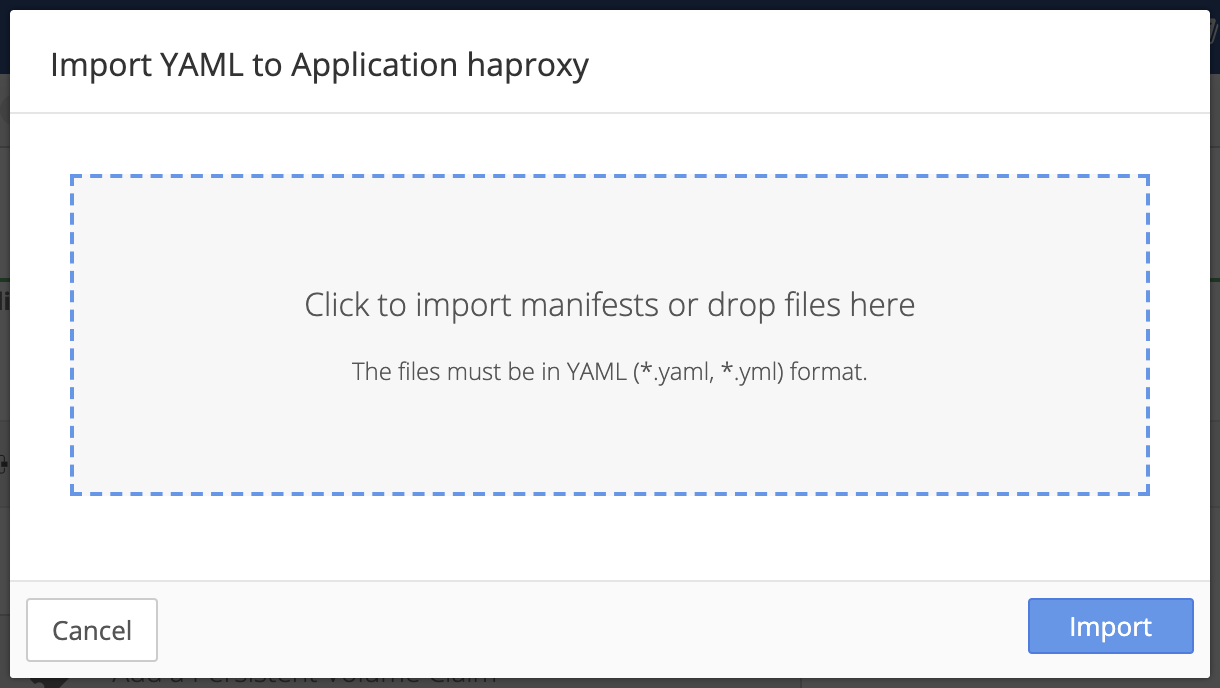
-
Click inside the gray box to open a file selector, or drag your file inside the gray box to upload the new cluster role binding.
-
Click the Import button or click cancel to return to the previous page.
Note the presence of the new cluster role binding in the Other Resources section of Application Details.
-
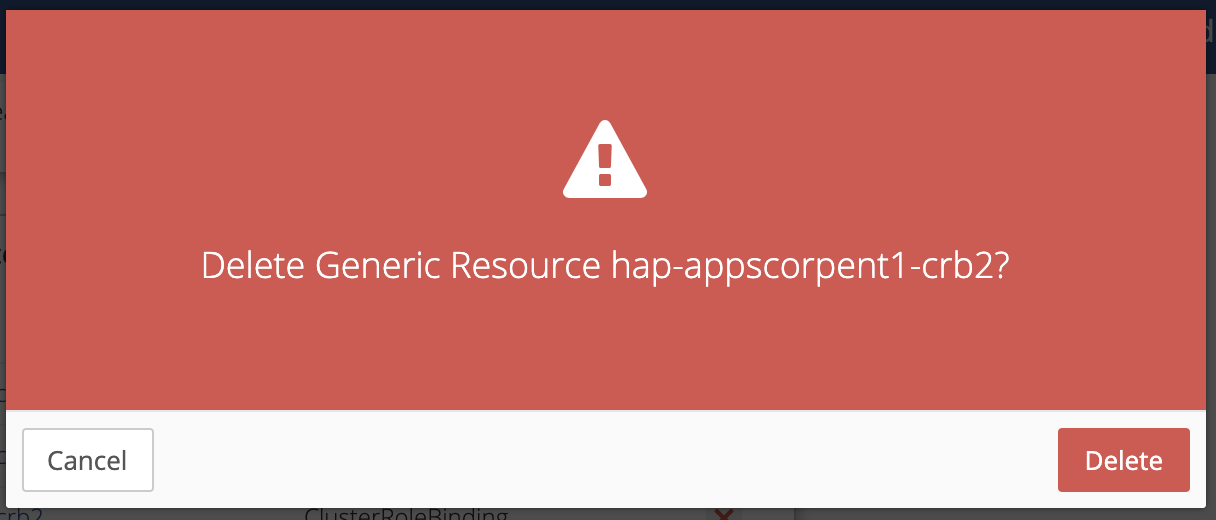
Delete the existing cluster role binding used when creating the new cluster role binding.

-
A confirmation overlay appears. Click Delete to continue or click Cancel to return to the previous page.
Next step: create a unique ingress class for HAProxy.
Creating a Unique Ingress Class
The new instance of HAProxy requires an ingress class with a unique name. To create a unique ingress class:
-
Click on the HAProxy instance installed in your environment.
-
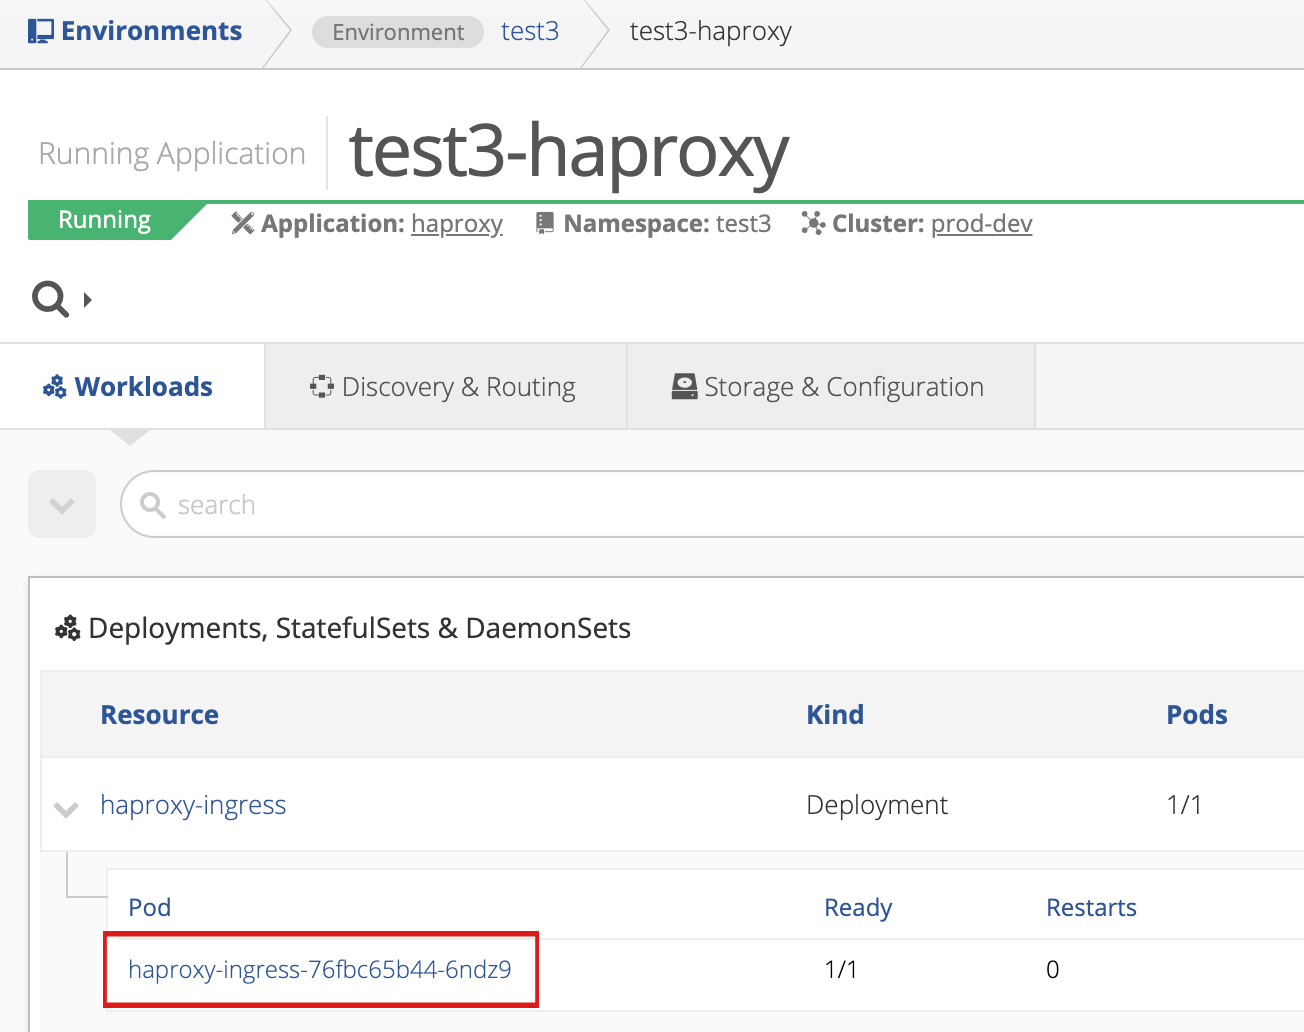
The Application Details page appears. Click the gray arrow button under Workloads to expand the service details.
-
Click the pod instance for HAProxy.
-
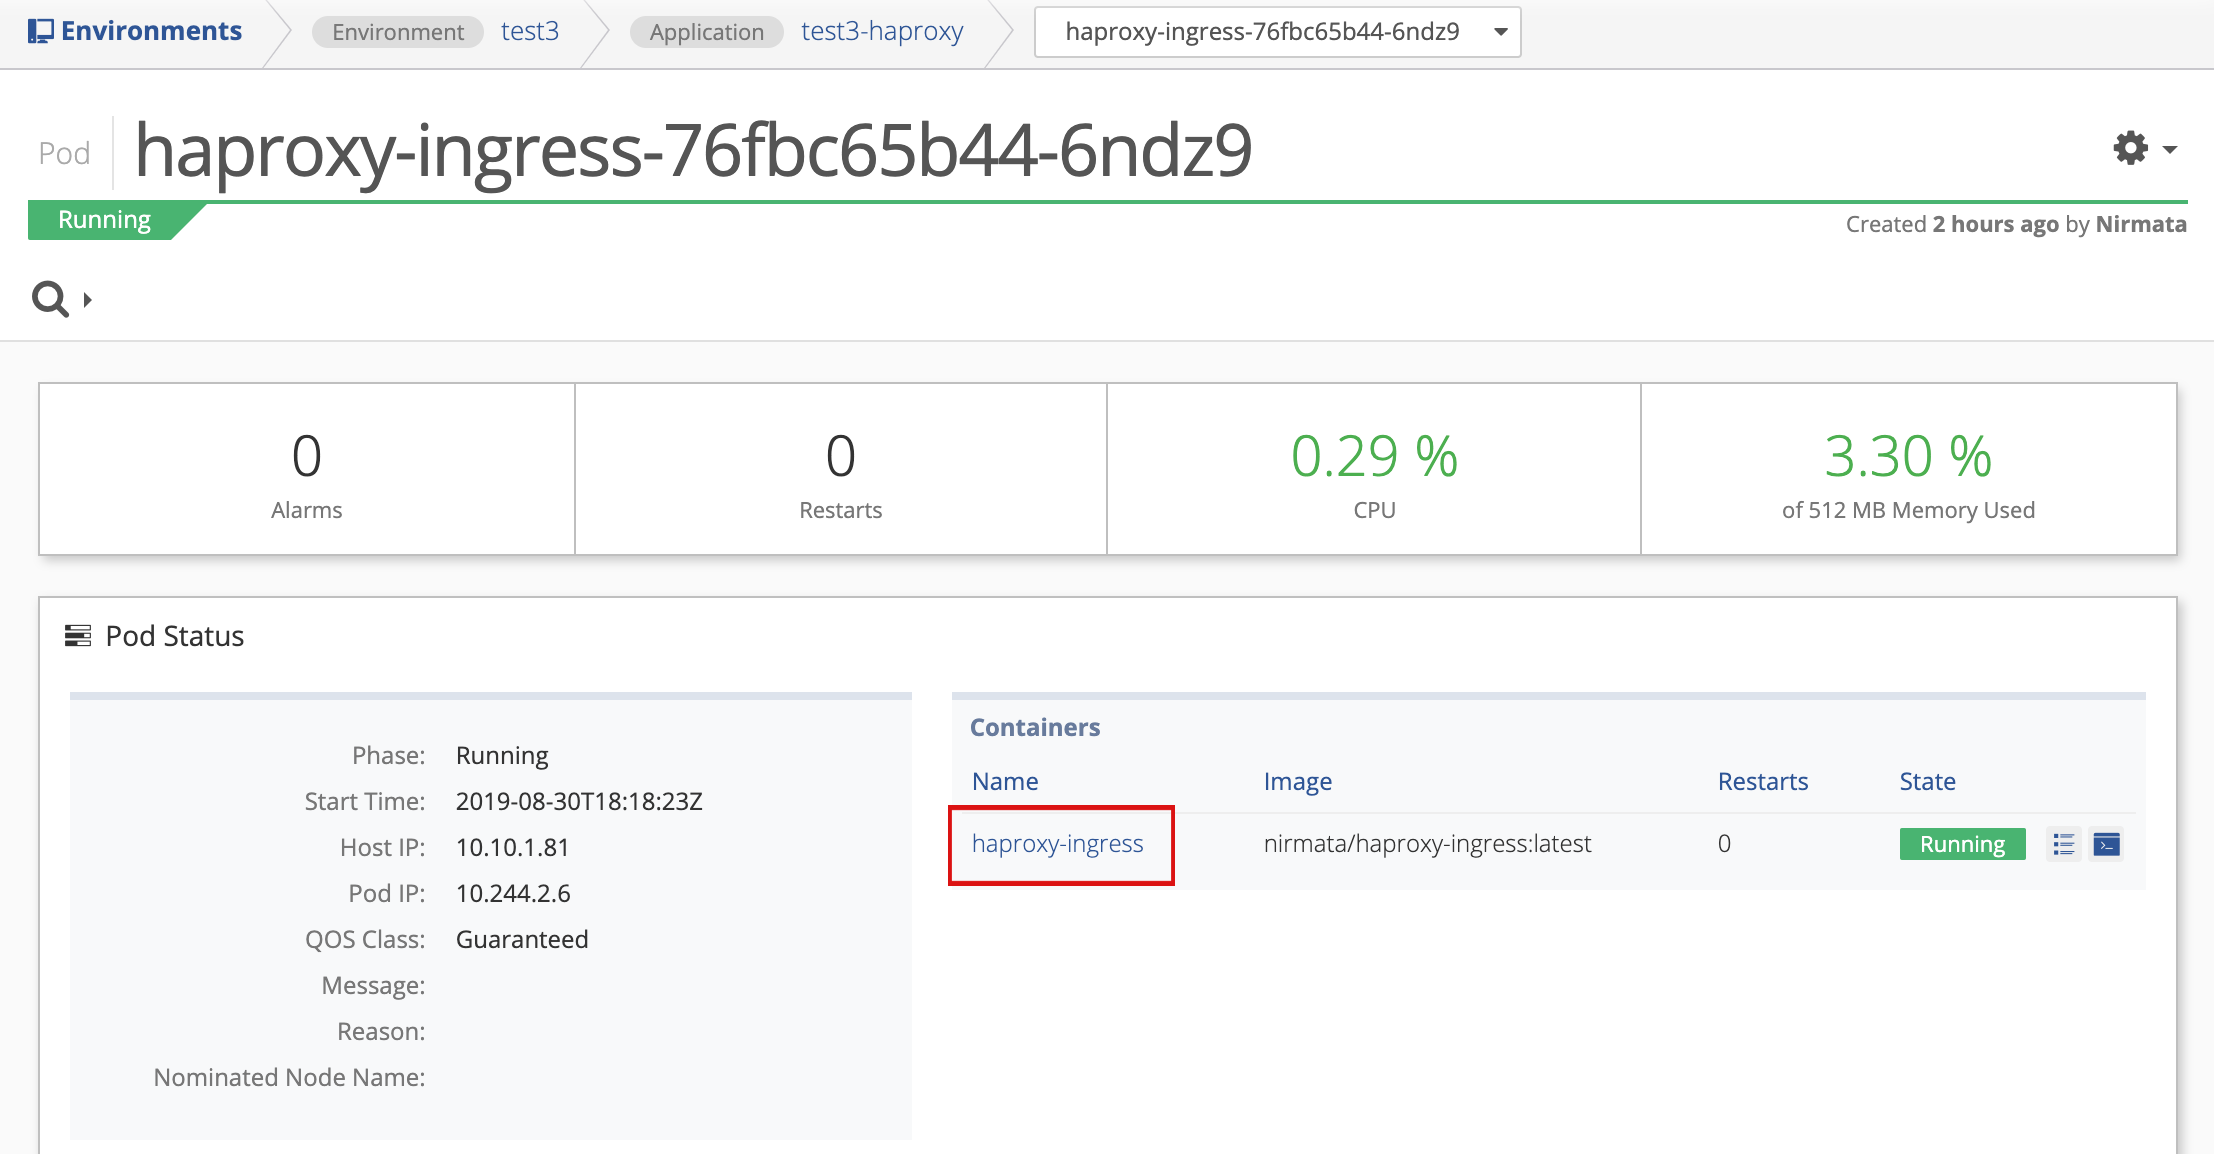
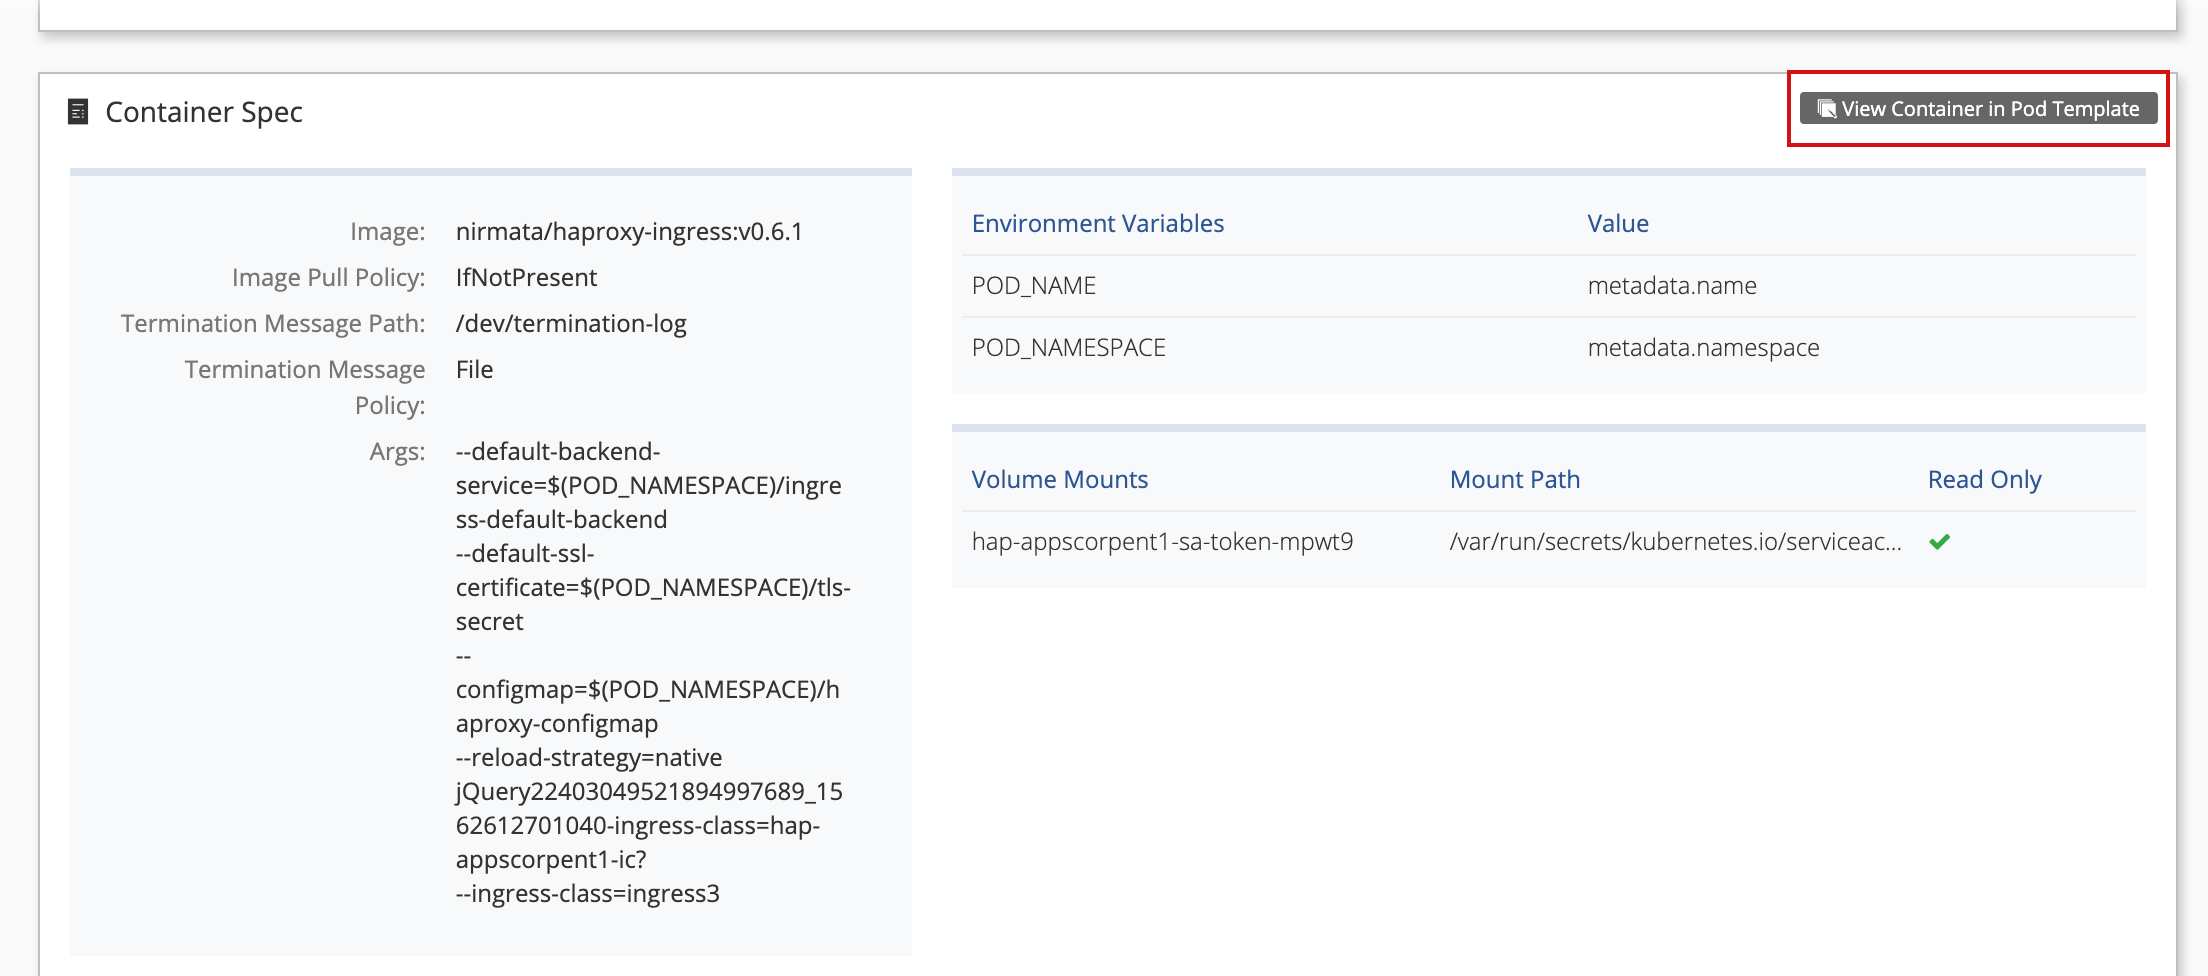
The Pod Details page appears. Click haproxy-ingress under Containers.
-
The Container Detail page appears. Scroll down to the Container Spec section and click View Container in Pod Template on the right.
-
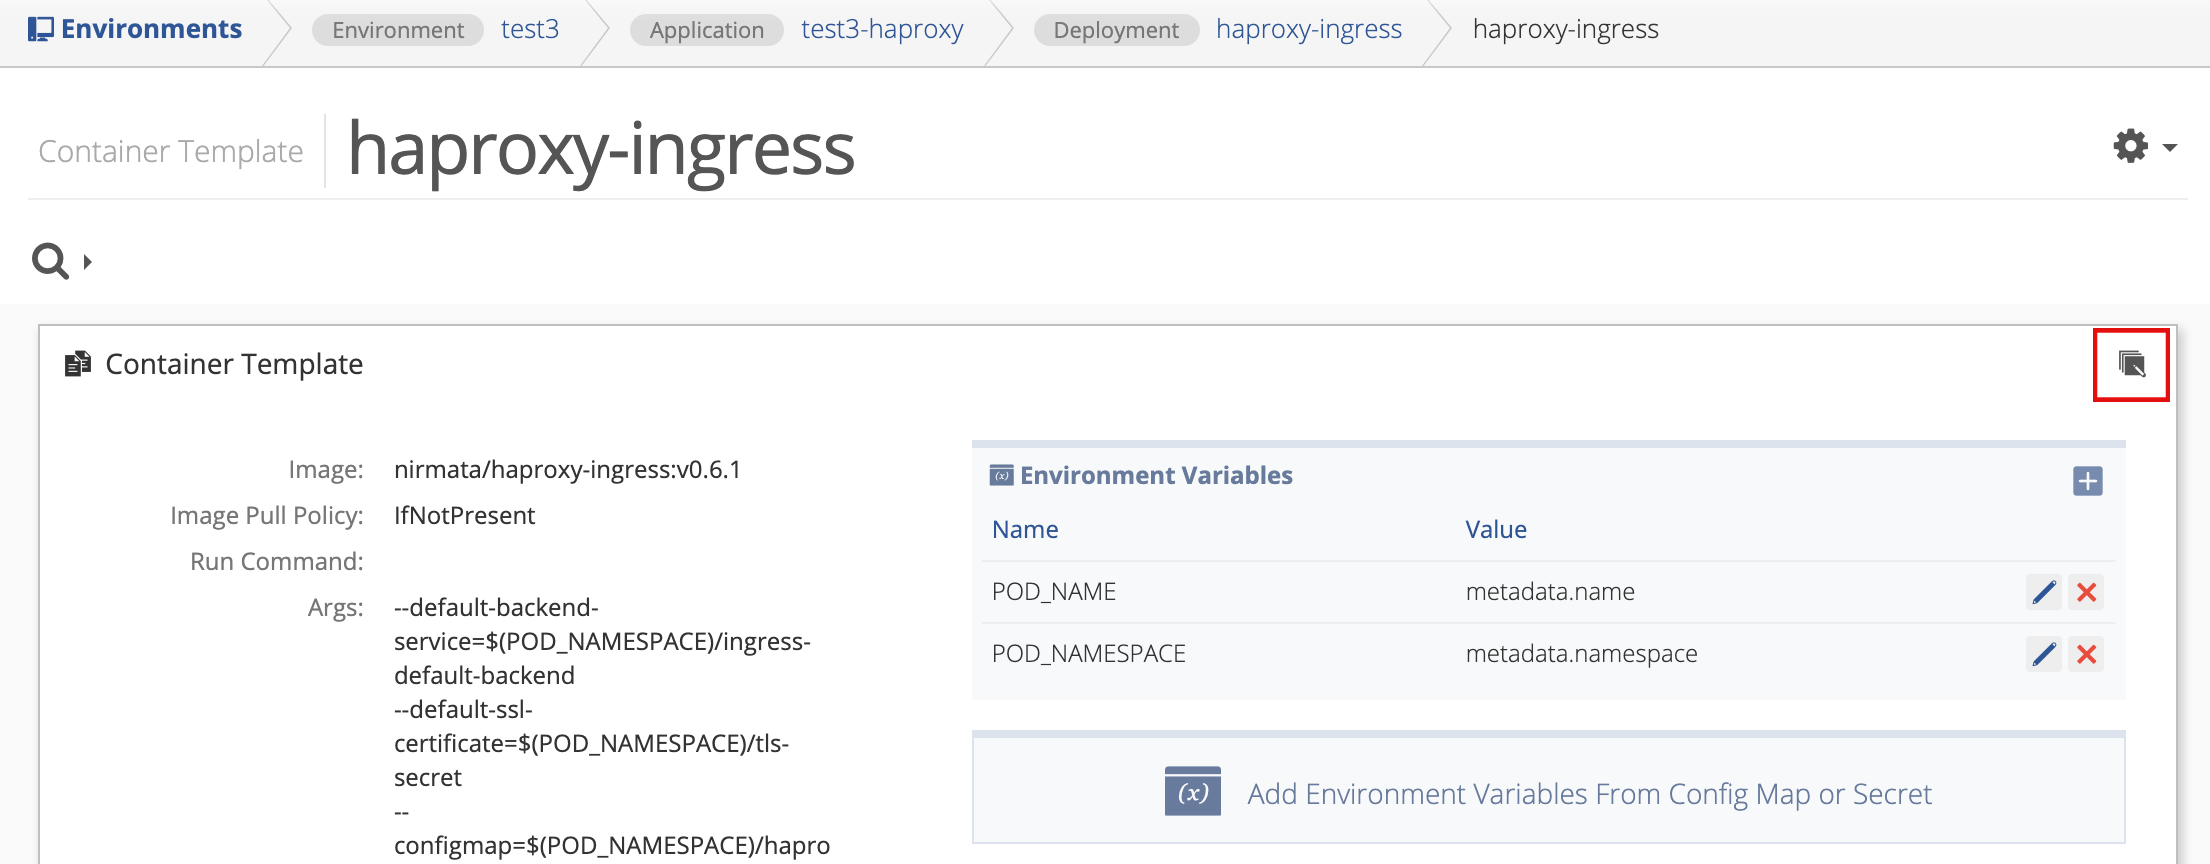
The Container Template page appears. Scroll to the top and click the edit icon in the Container Template section on the right.
-
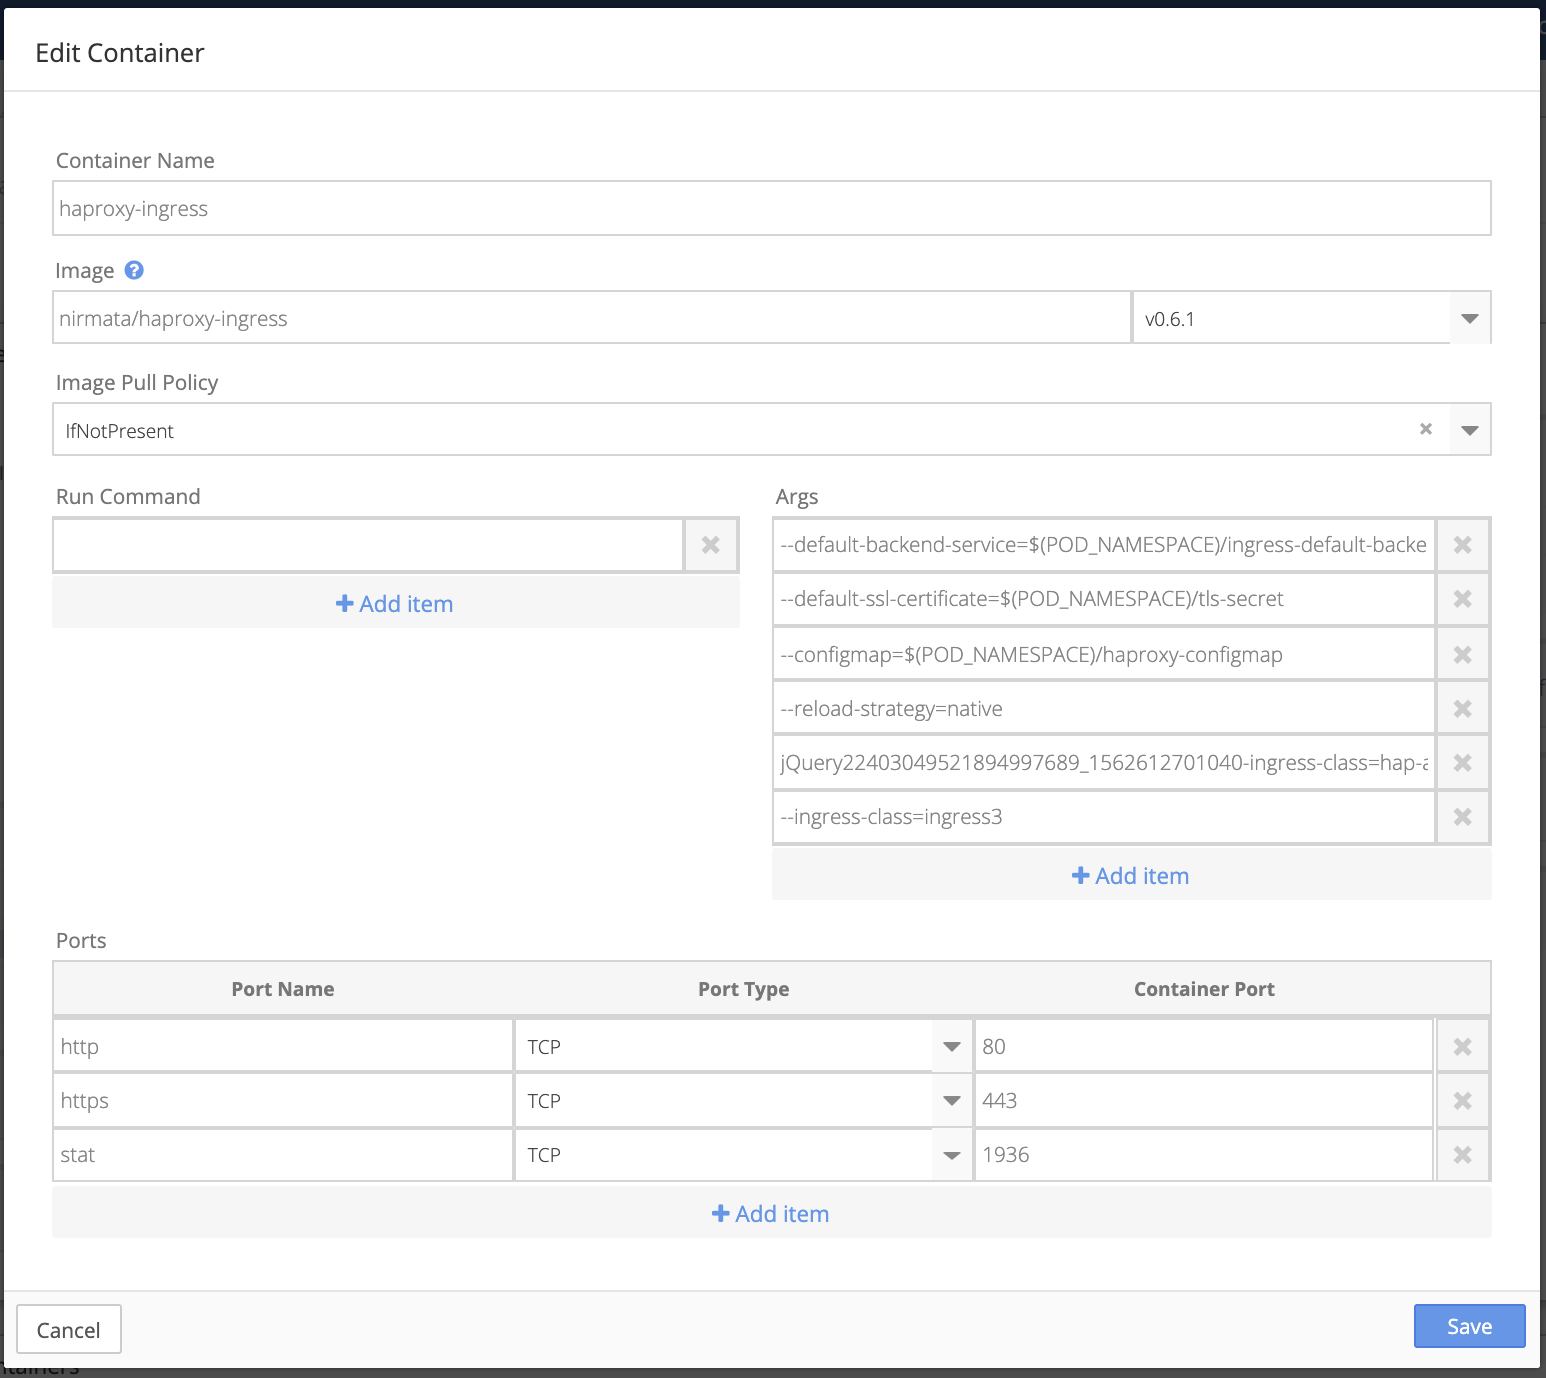
The Edit Container overlay appears.
-
In the Args section, click inside the field containing the
--ingress-classargument.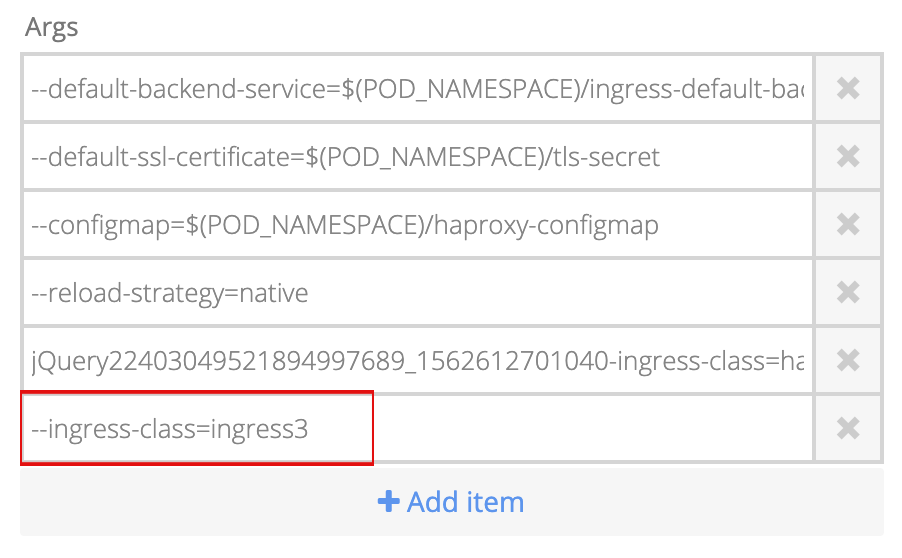
-
Modify the value of the key value-pair to be a unique instance for the ingress class.
Example:
--ingress-class=ingress10 -
Click Save to continue. Click Cancel to return to the previous page.
Note: upon saving there will be a short delay during the pod redeployment using the new ingress class.
Check HAProxy deployment status after adding or modifying a cluster role binding or ingress class.